The Java Jig – Reusable Replacement for K-Cups

In my last post, that was published back in July (WOW!!  Time Really Goes By!!!!)  I discussed the pro’s and con’s on singles serve coffee makers.   As you might remember, one of the downsides of single serve coffee makers was the waste they cause, specifically as related to the plastic containers/pods that go into many of our single serve coffee makers. In addition, there are some who are concerned about the cost/per cup when it comes to making single serve coffee.

Well, as it turns out there is a solution to these problems.  Its something I’ve discovered called the Java Jig. You can find the Java Jig at the Recommended Resources page on this blog.Photo Sep 07, 8 14 50 AM  
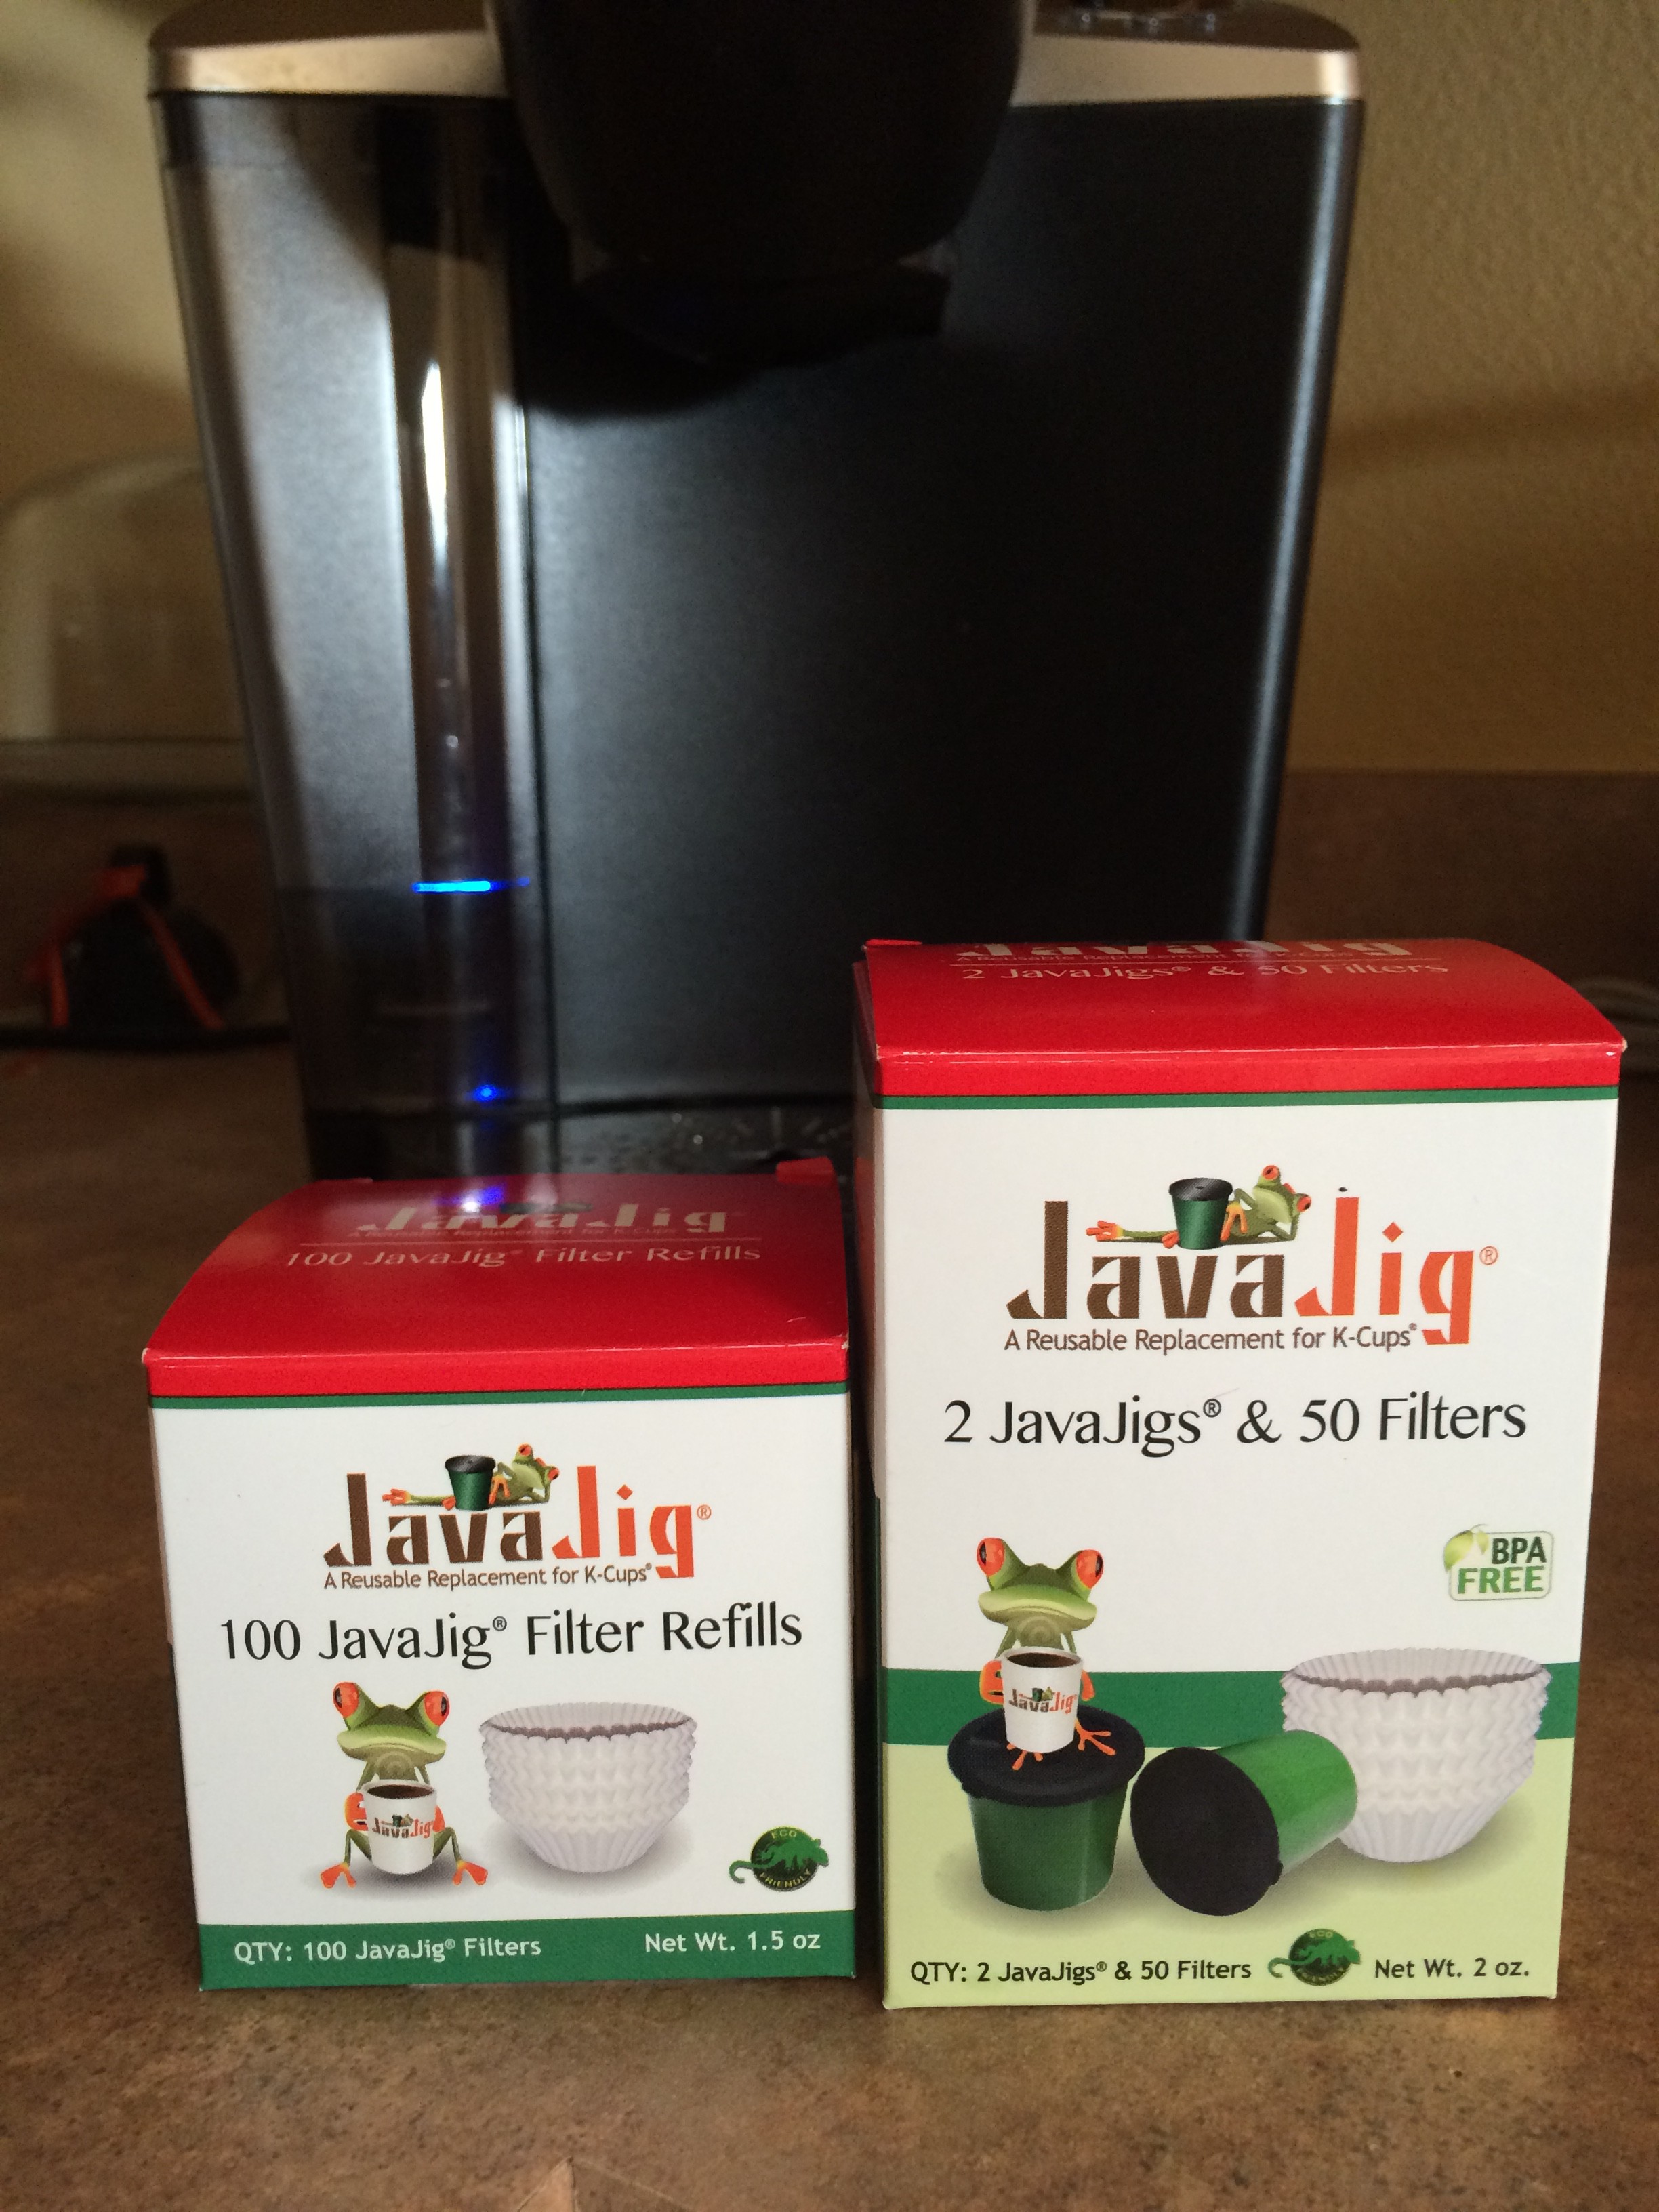
(I want to be completely honest and upfront here.  I do receive a very small commission every time some goes through my website and purchases a Java Jig. It does not cost you any more, however by purchasing it this way.  In fact the Recommended Resources tab is intended to be a one stop resource for you so you can find the coffee items you need for your journey to find a great cup of coffee.)

From the Java Jig website they list the following attributes about the Java Jig;

  1. Allows you to use your own coffee.
  2. Provides  for easy cleanup.
  3. Eco friendly bio degradable filters.
  4. Savings up to 80%  off pre-filled pods.
  5. Extracts a richer, better cup of coffee.

The Java Jig I purchased for todays demo, is called the Java Jig Combo Pack.  In the pack you get 2 Java Jigs and 150 filters.Photo Sep 07, 8 17 49 AM


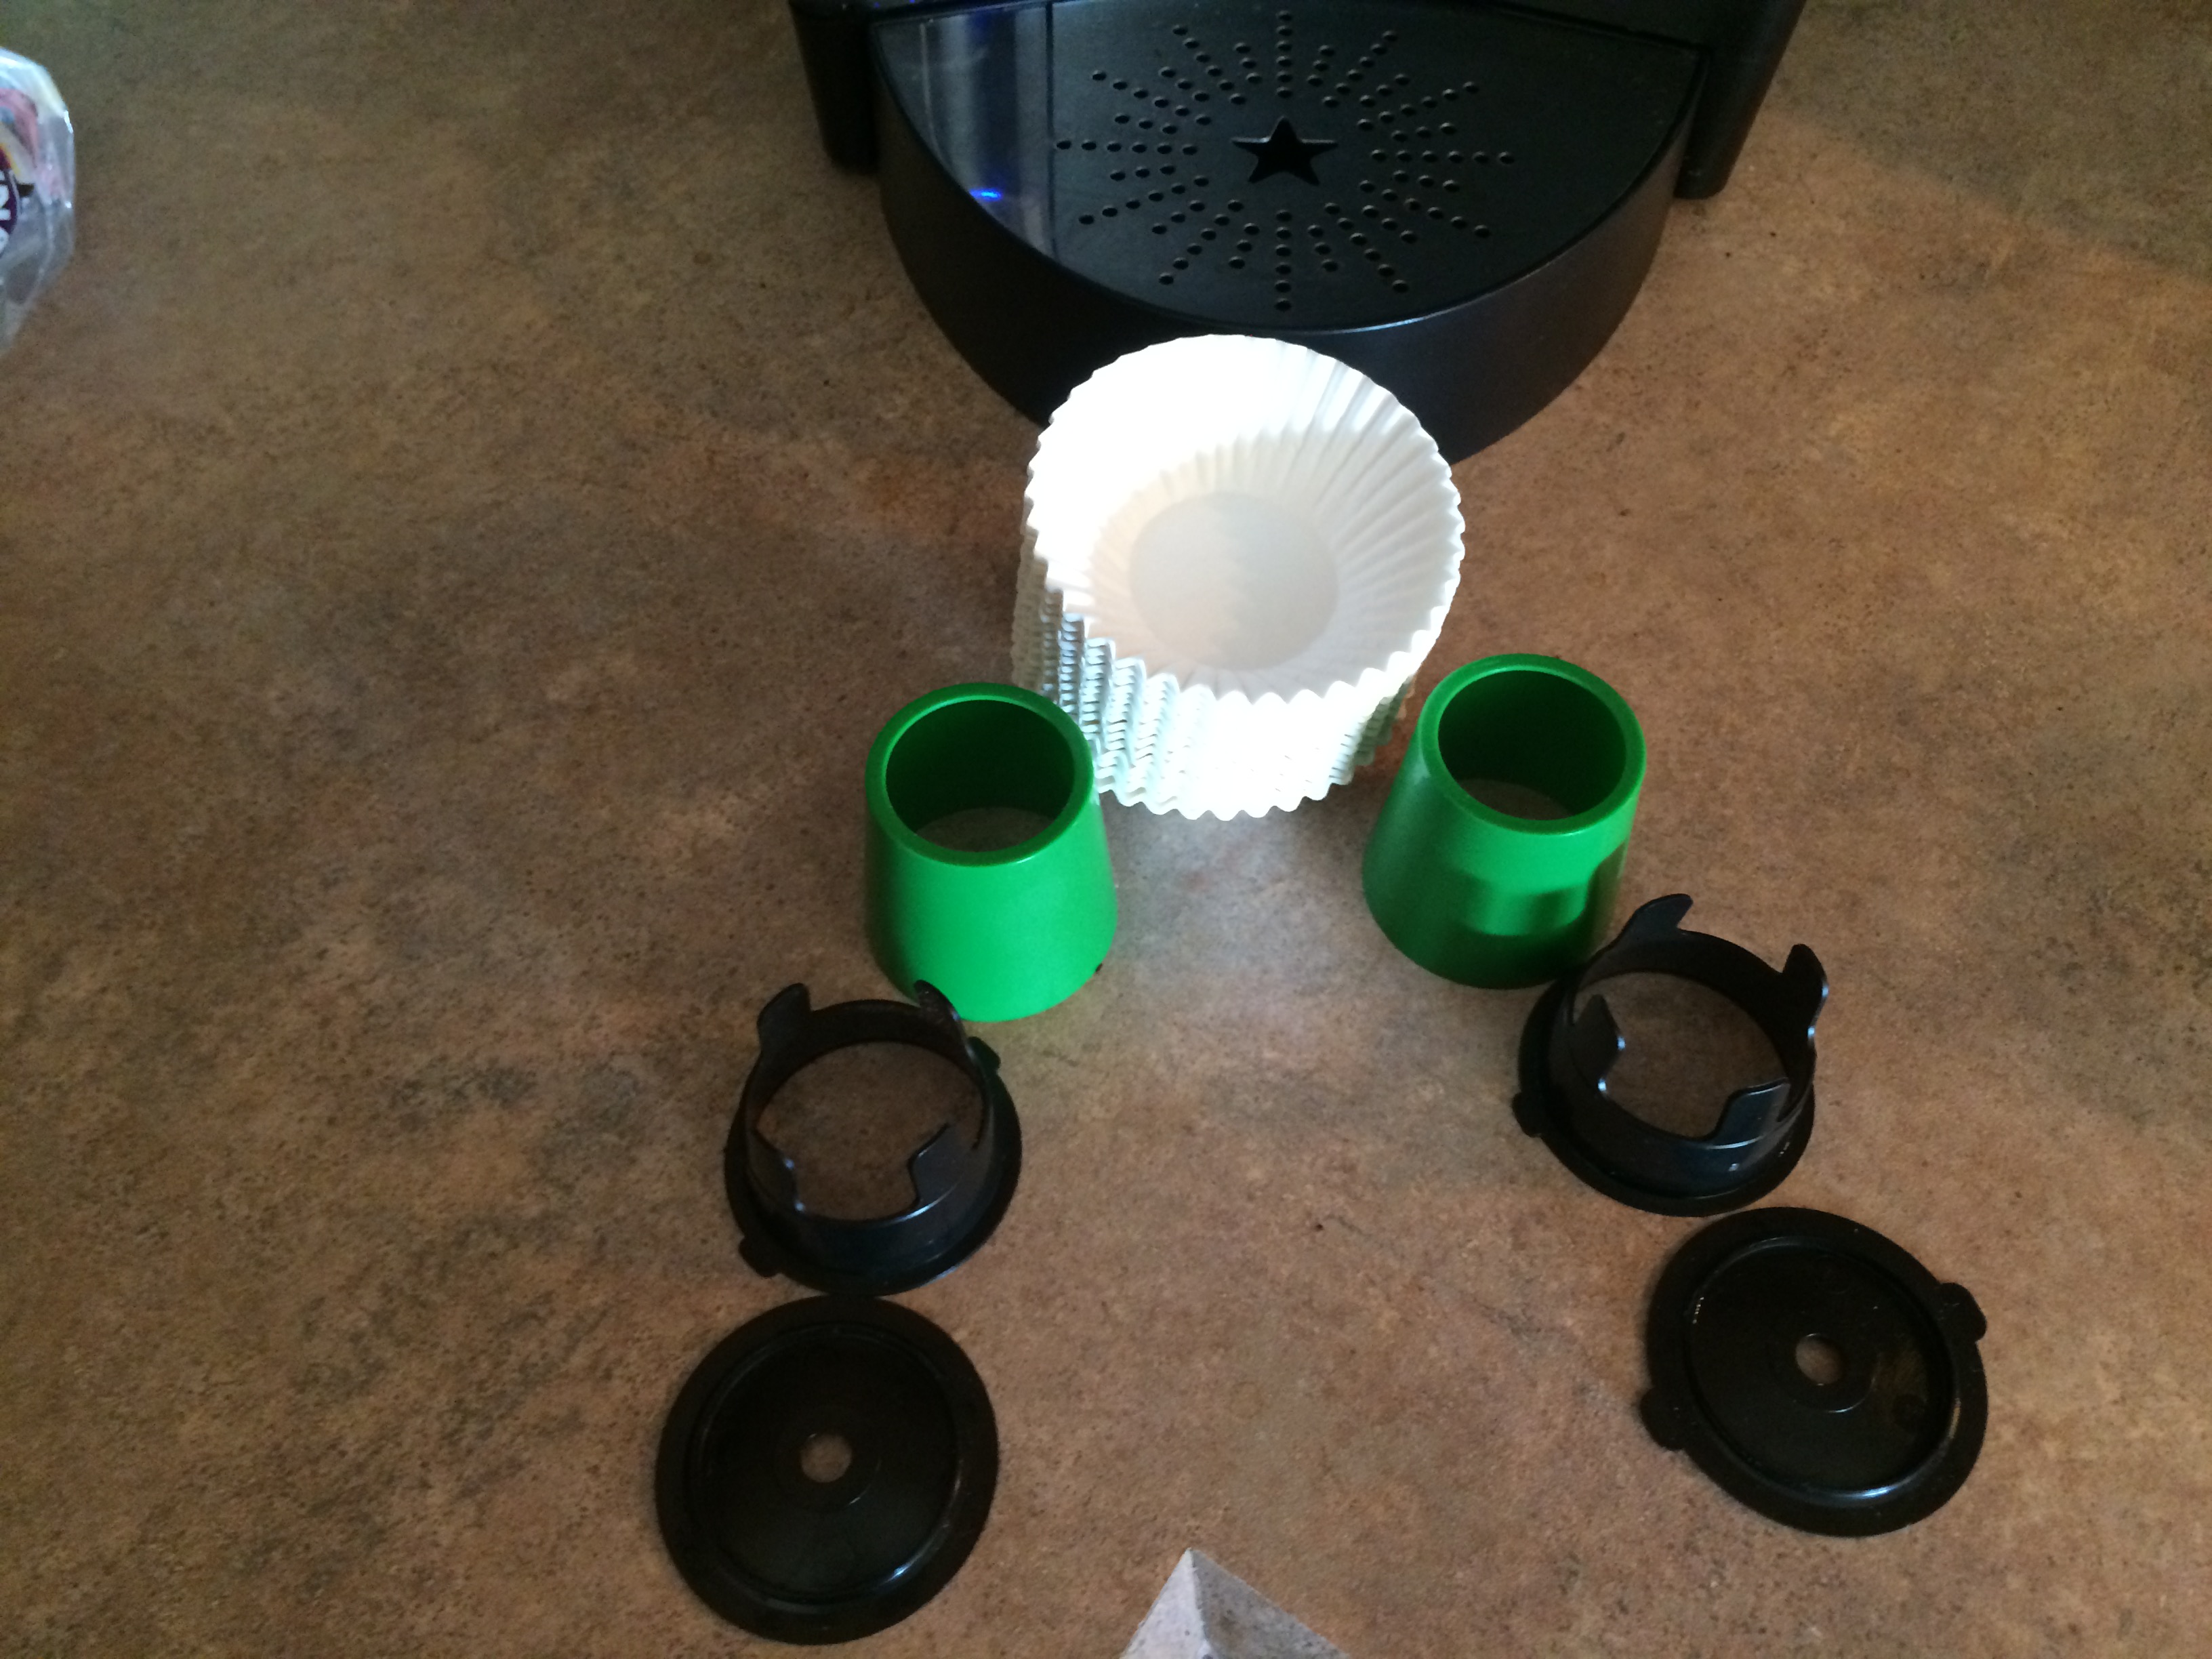
Lets walk through the steps to use the Java Jig.

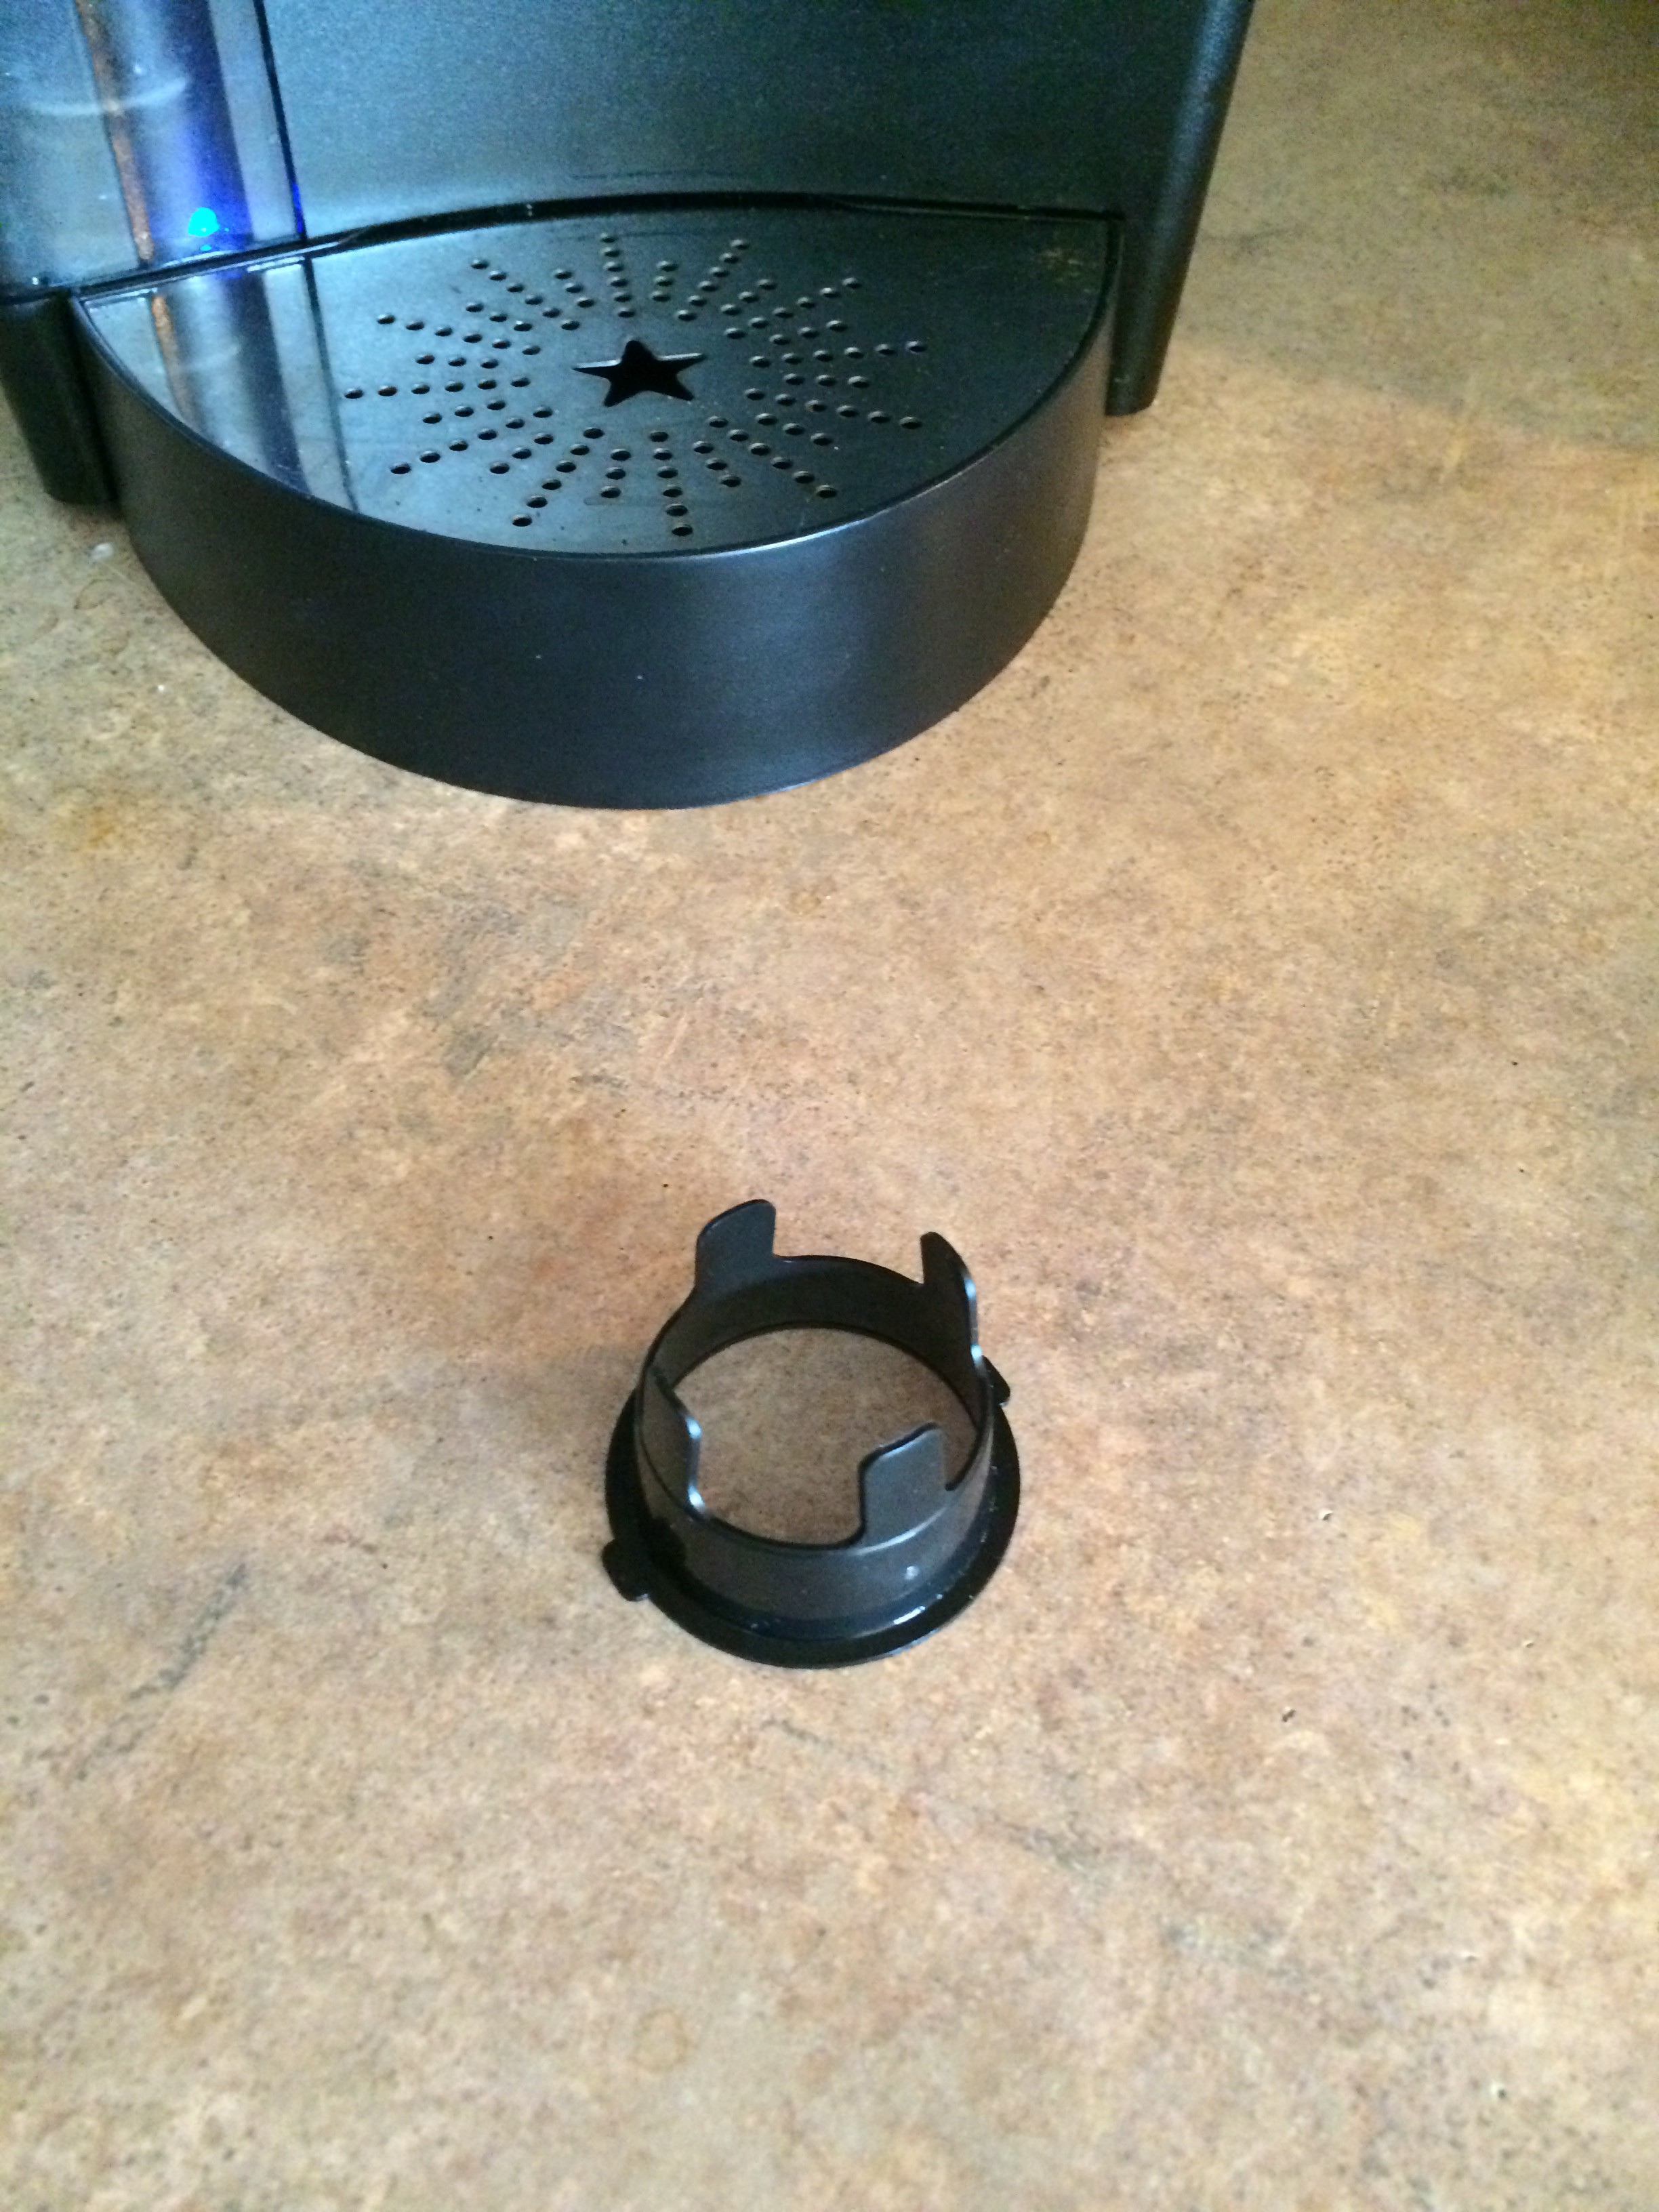
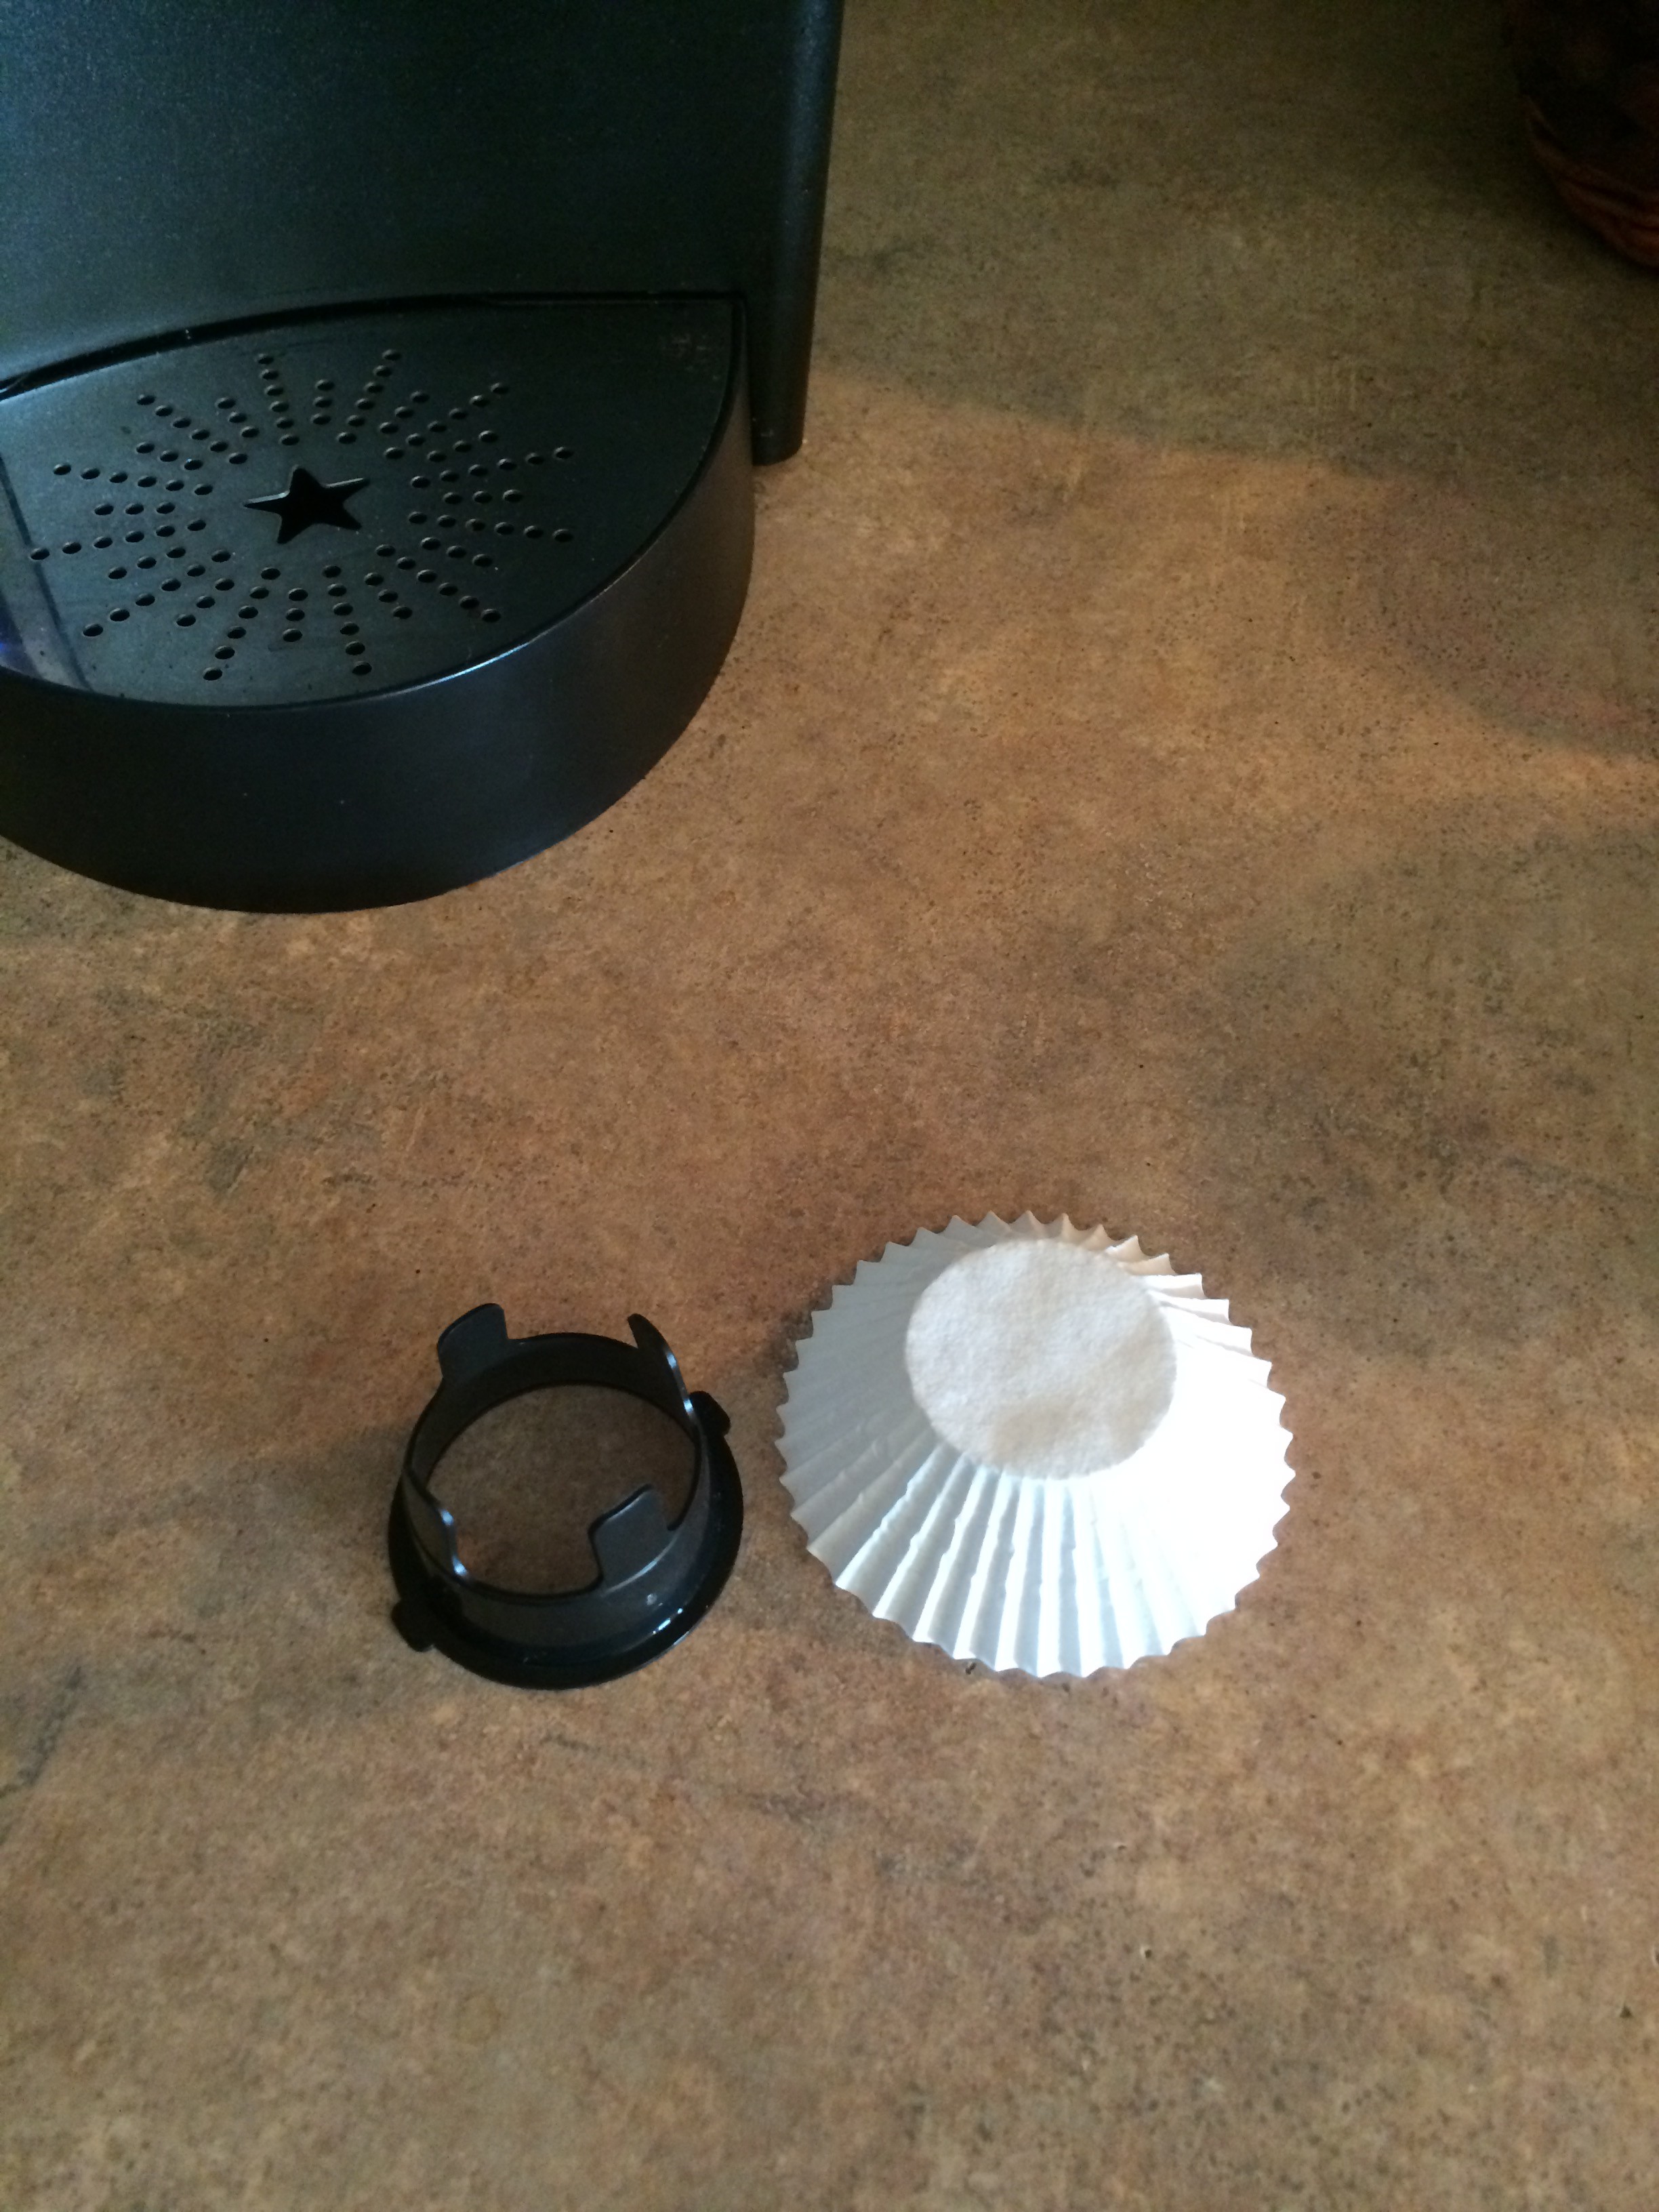
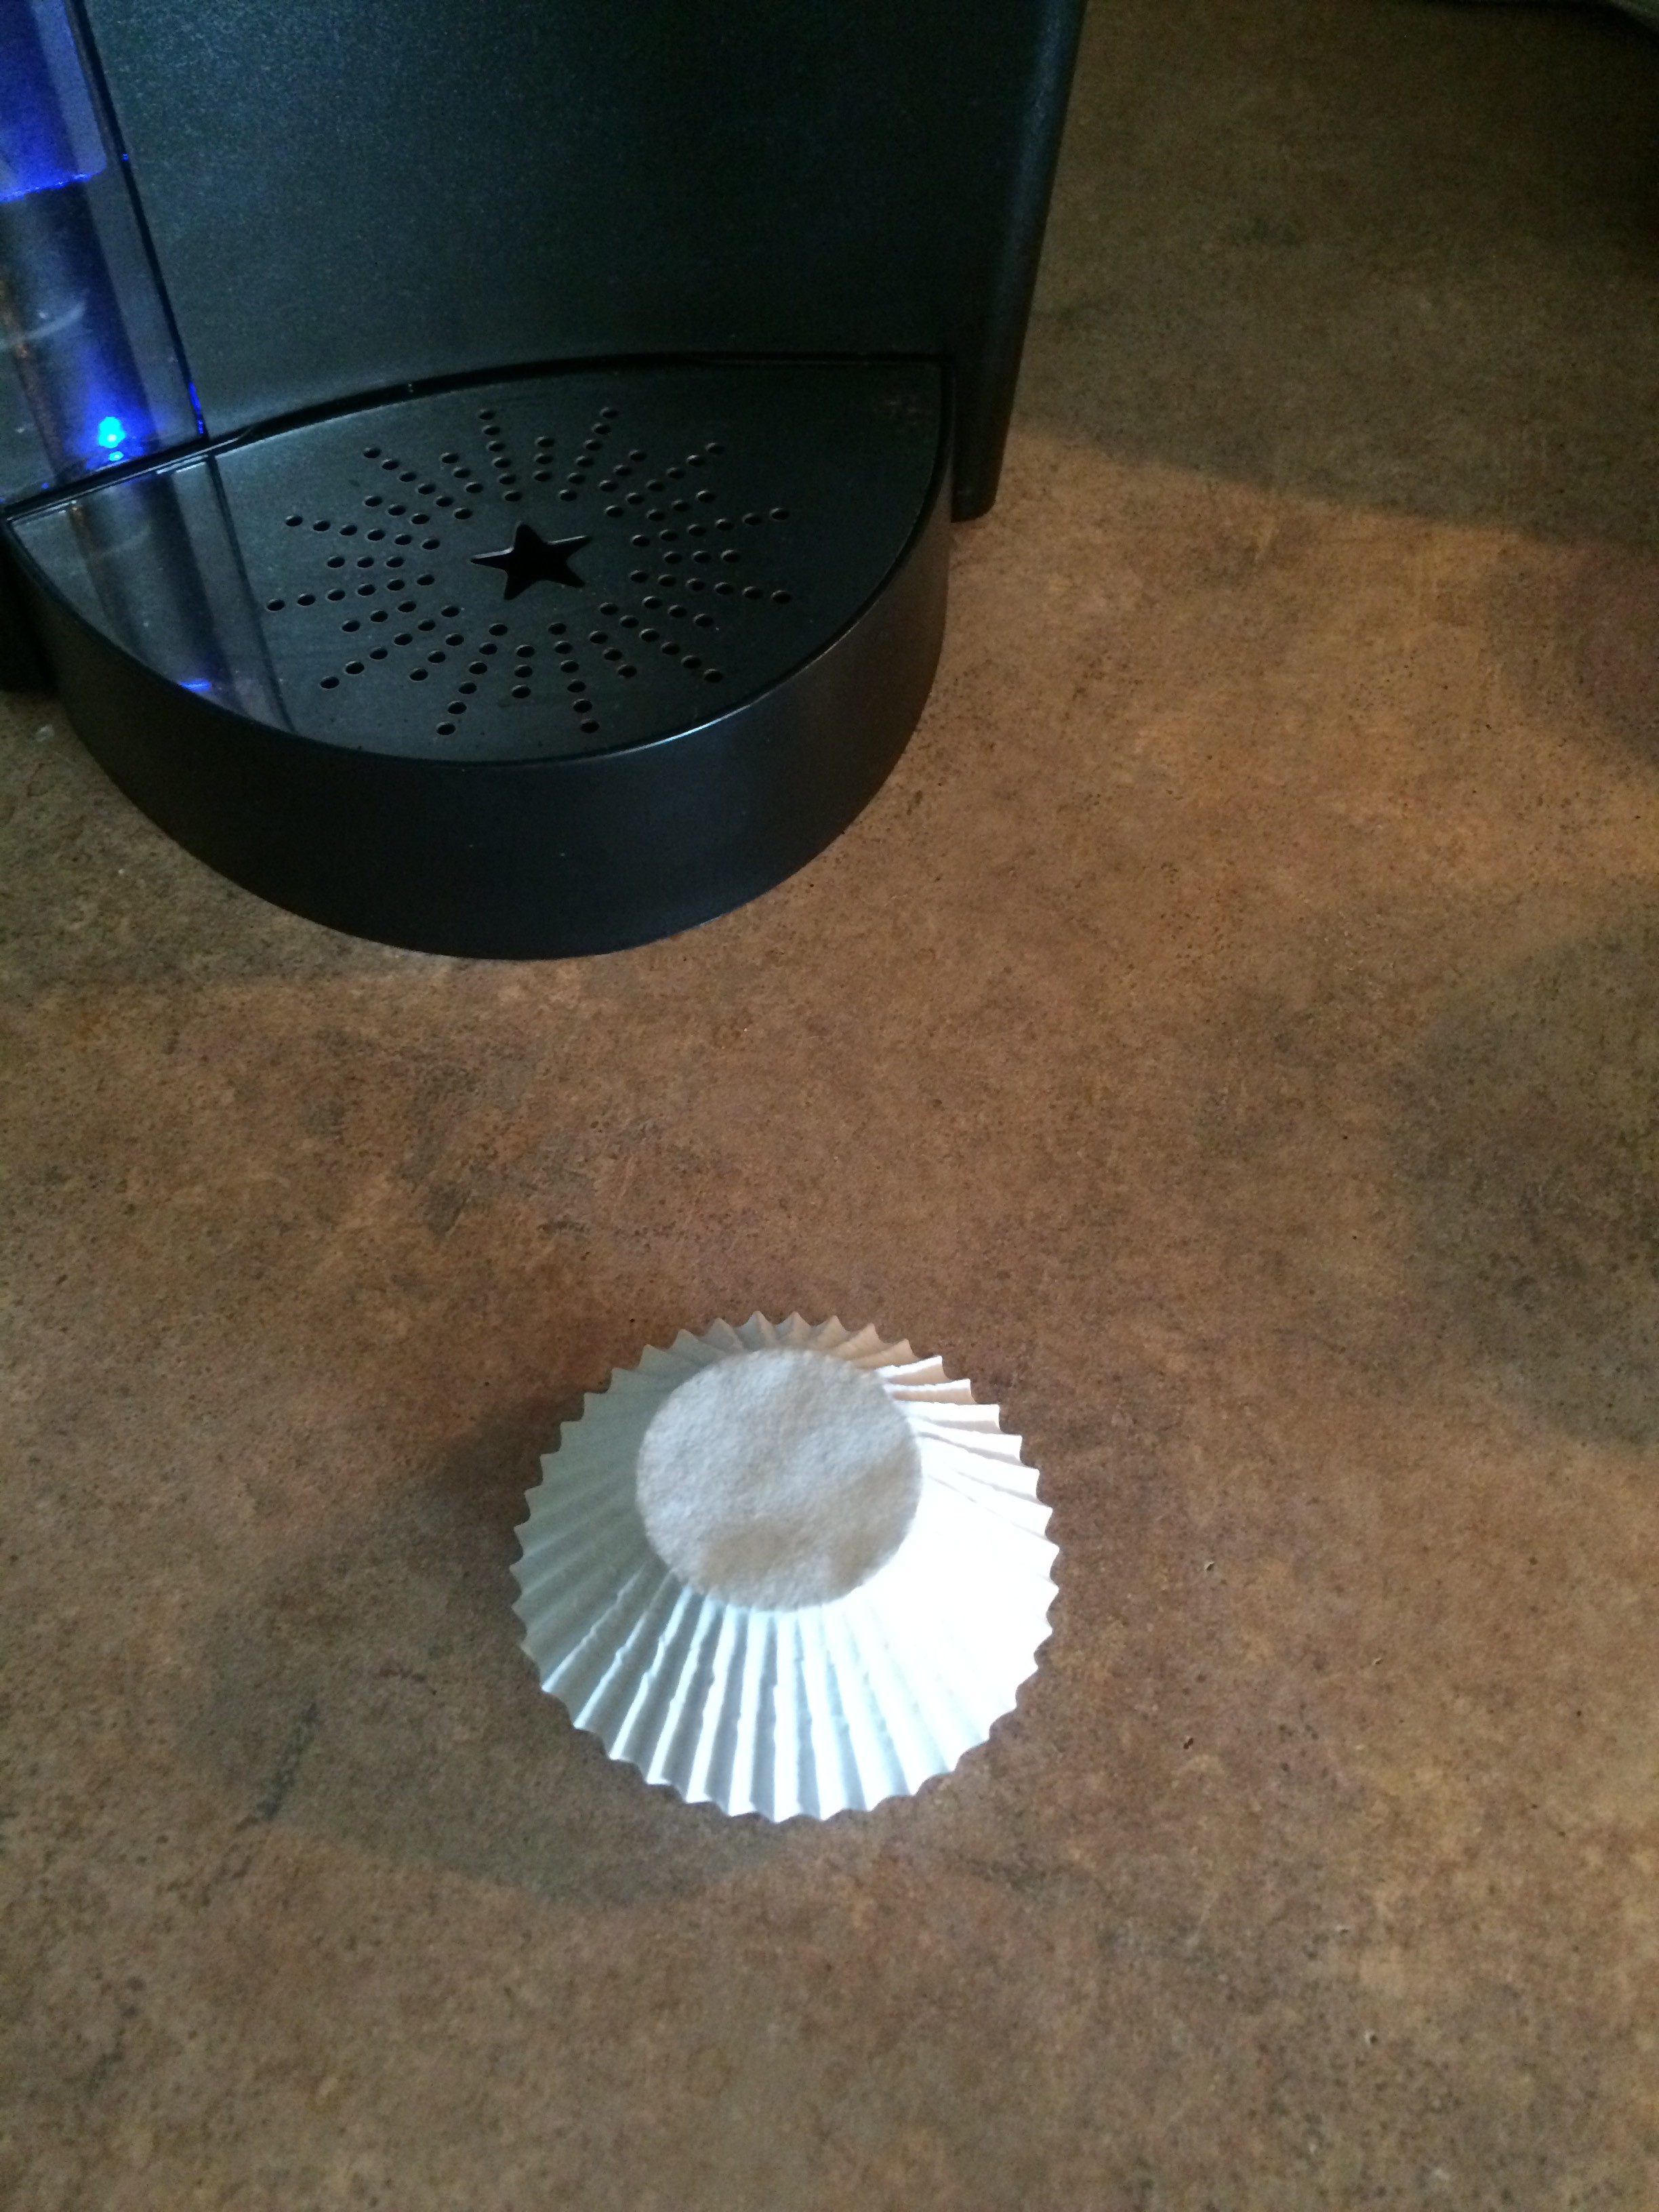
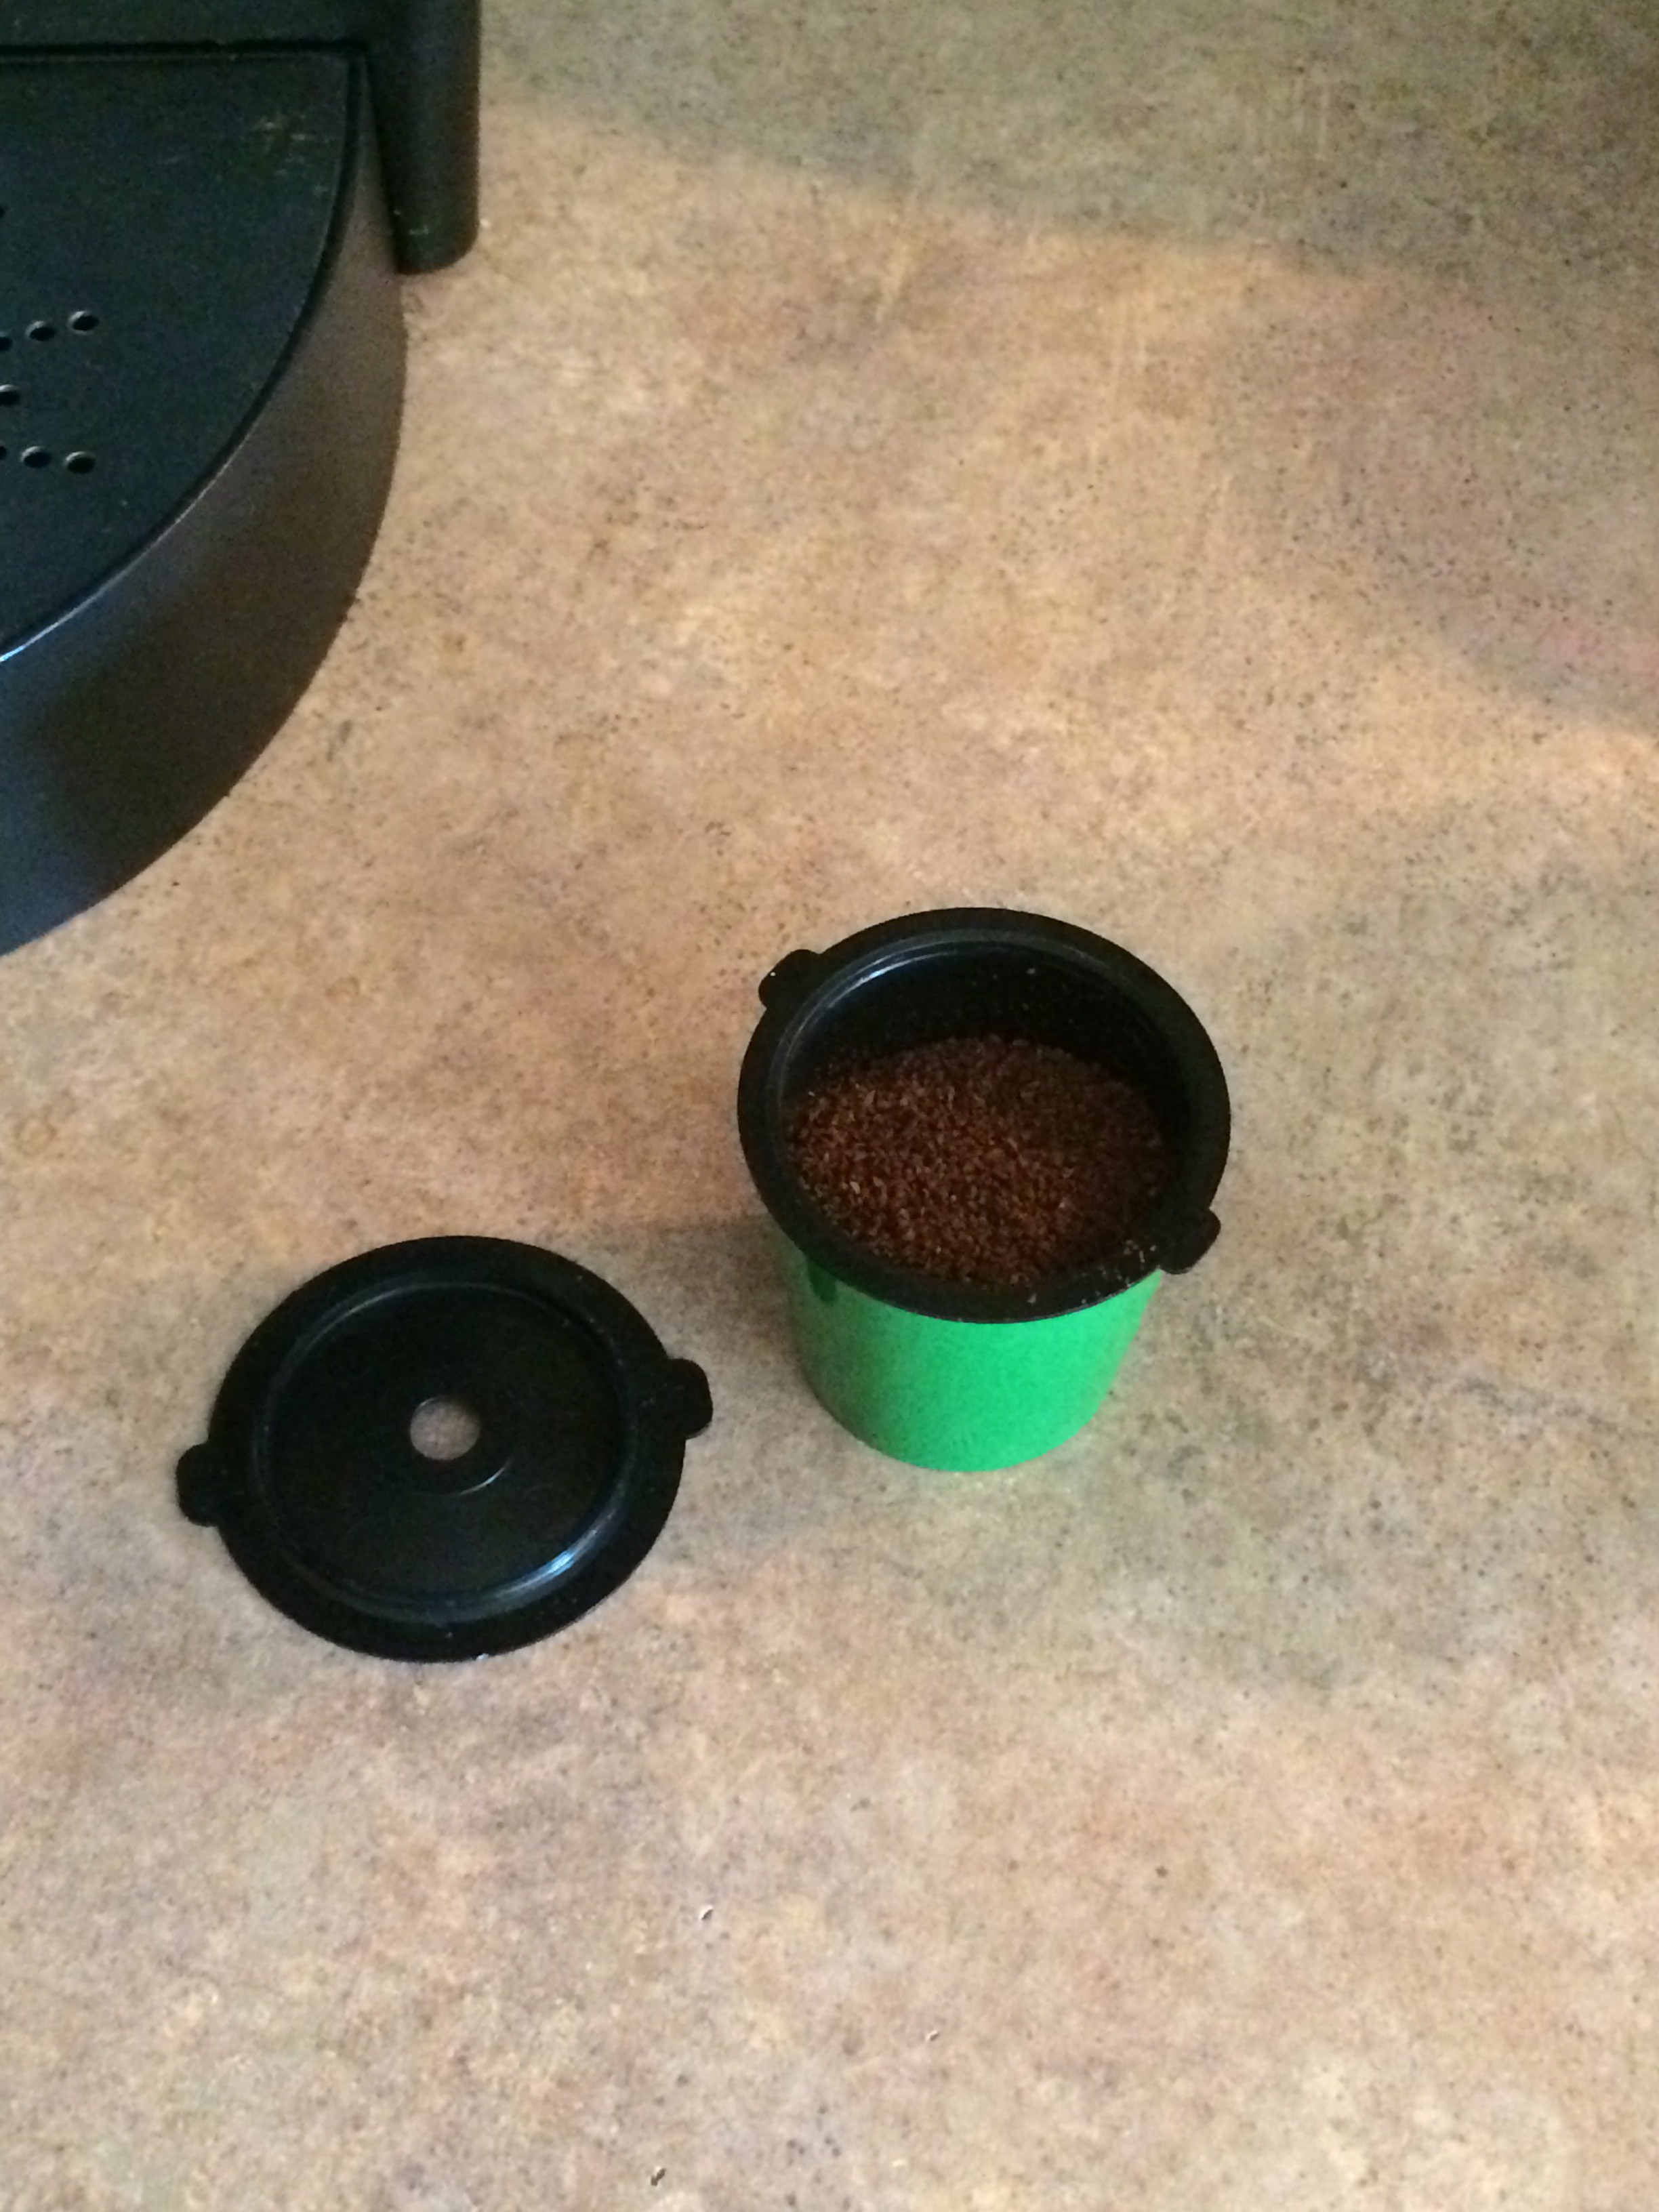
Step 1 – place the Jig down on a flat surface.

Photo Sep 07, 8 19 30 AM


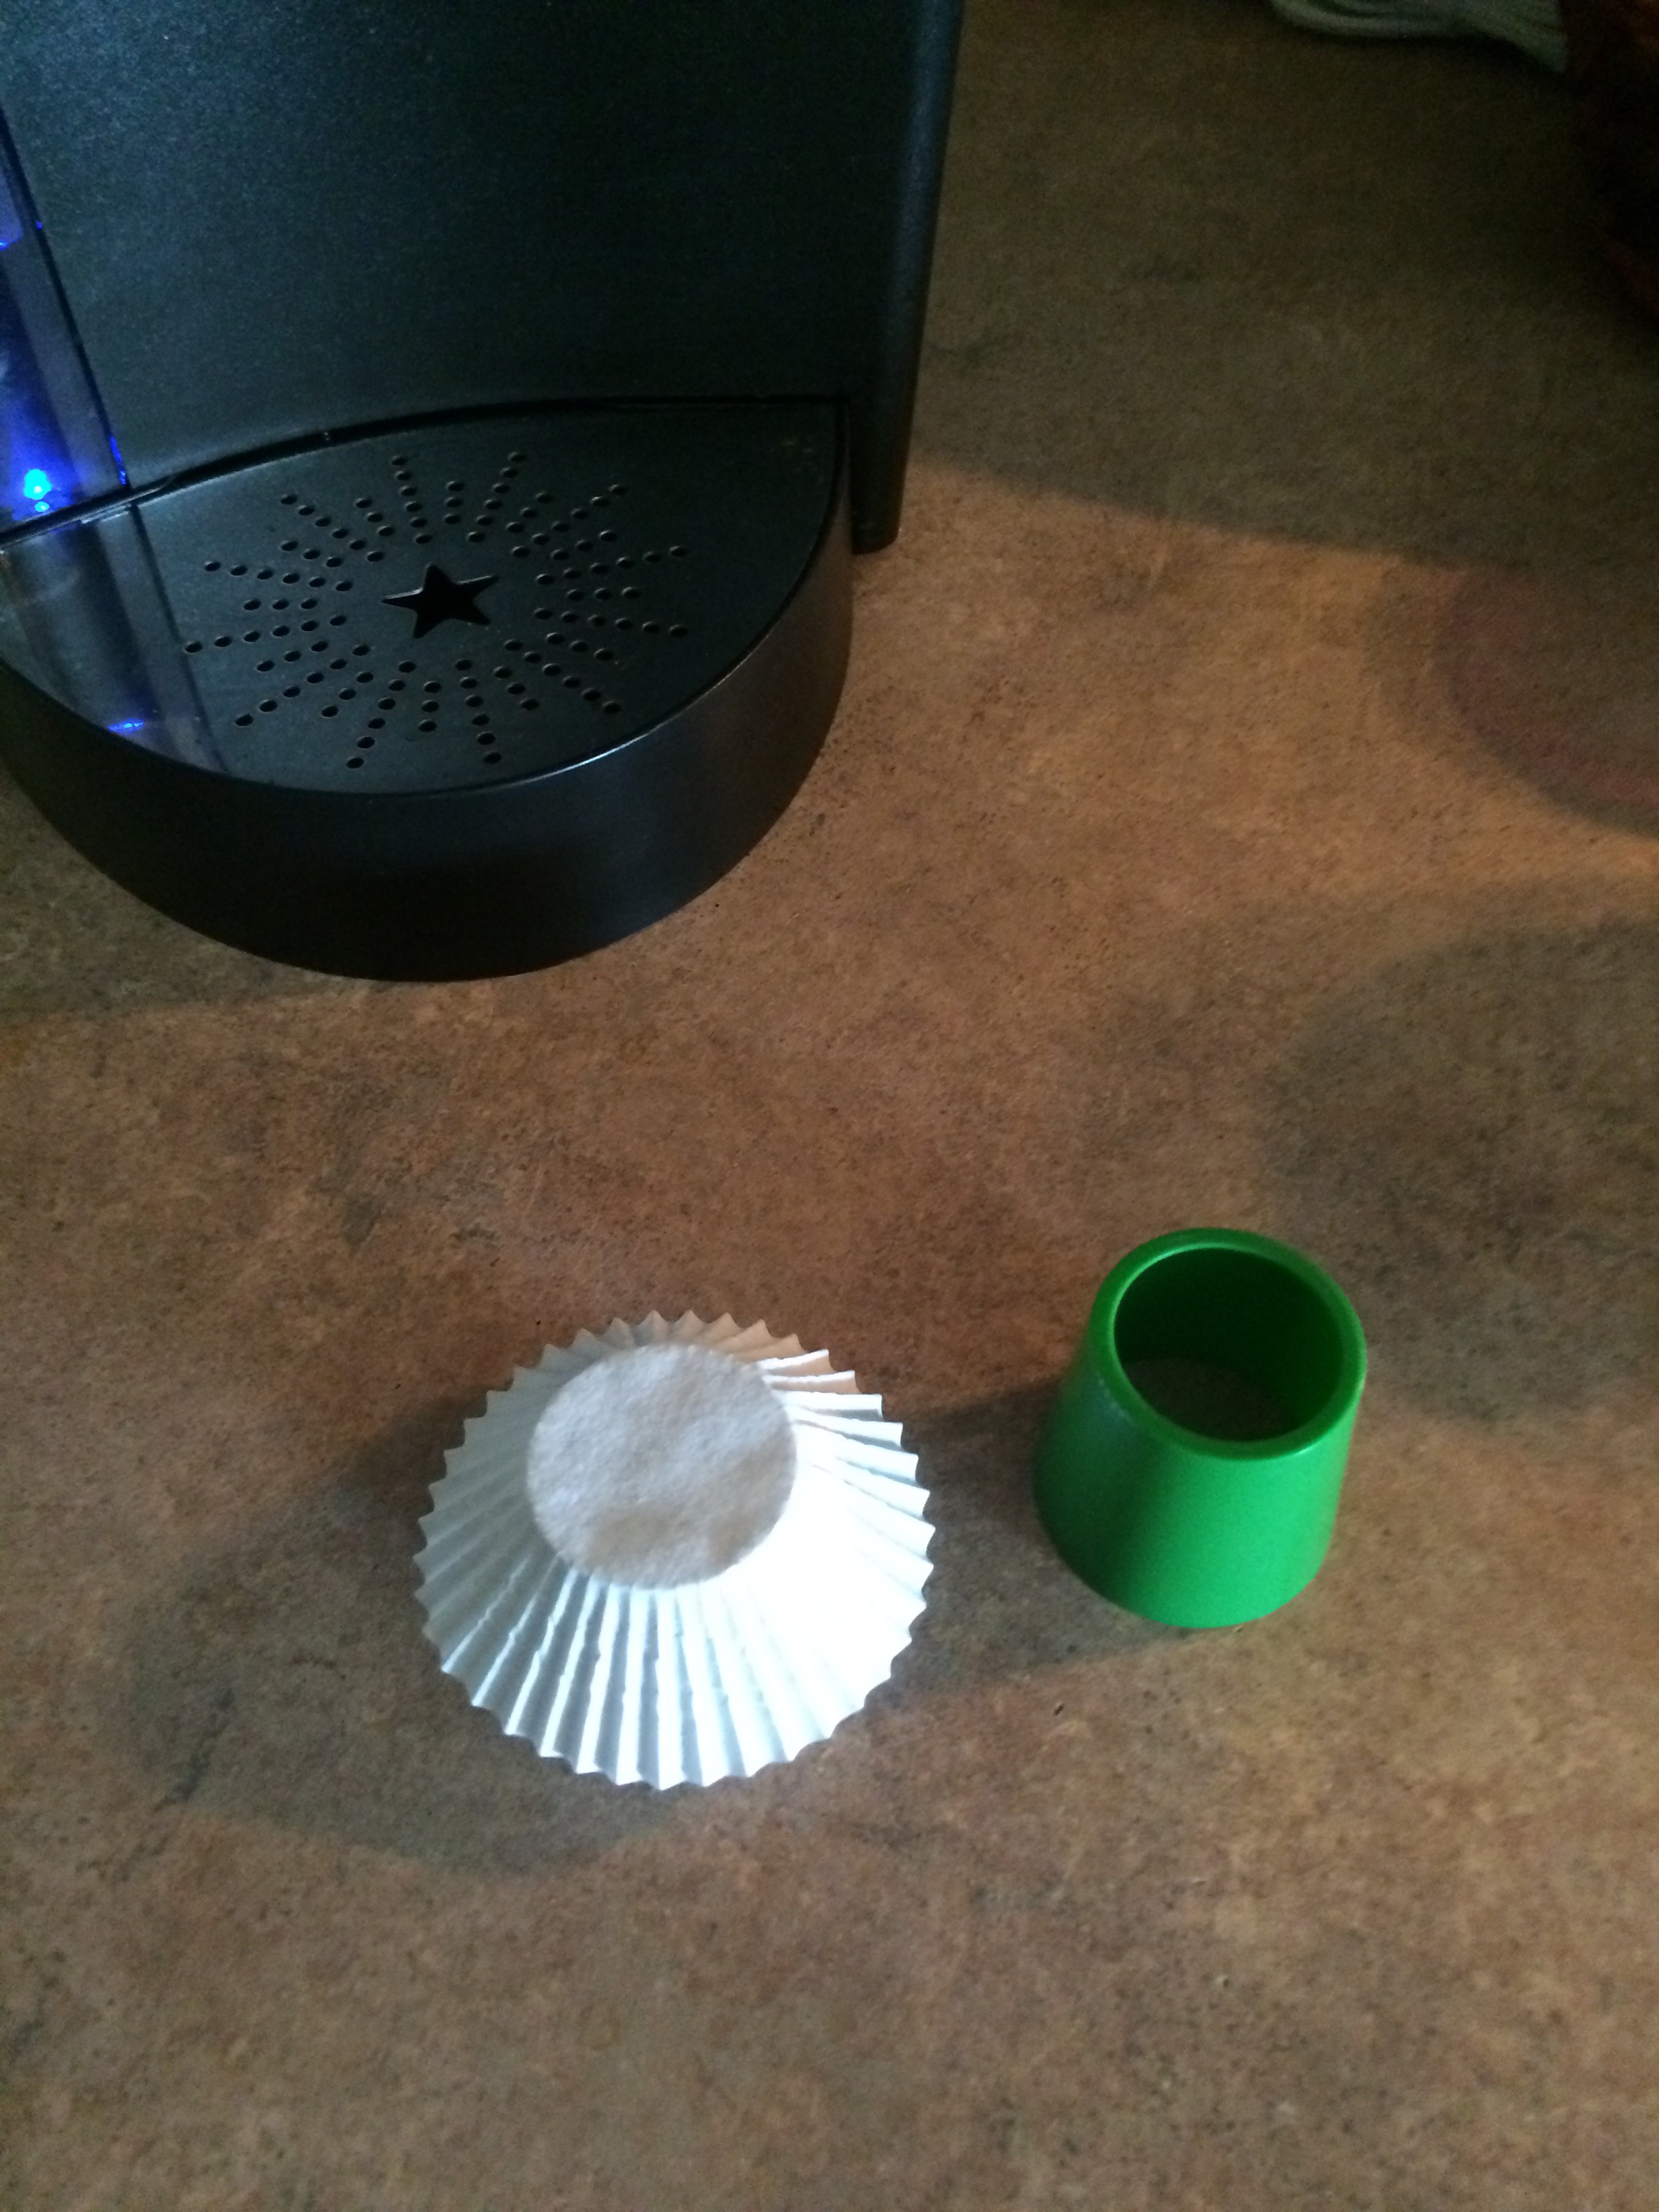
Step 2 – Take the filter and place it on the jig.

Photo Sep 07, 8 19 51 AMPhoto Sep 07, 8 20 01 AM


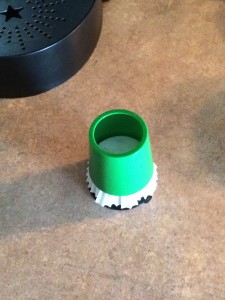
Step 3 – Push the green outer cup over the jig.

Photo Sep 07, 8 20 12 AMPhoto Sep 07, 8 20 57 AMPhoto Sep 07, 8 21 12 AM (1)


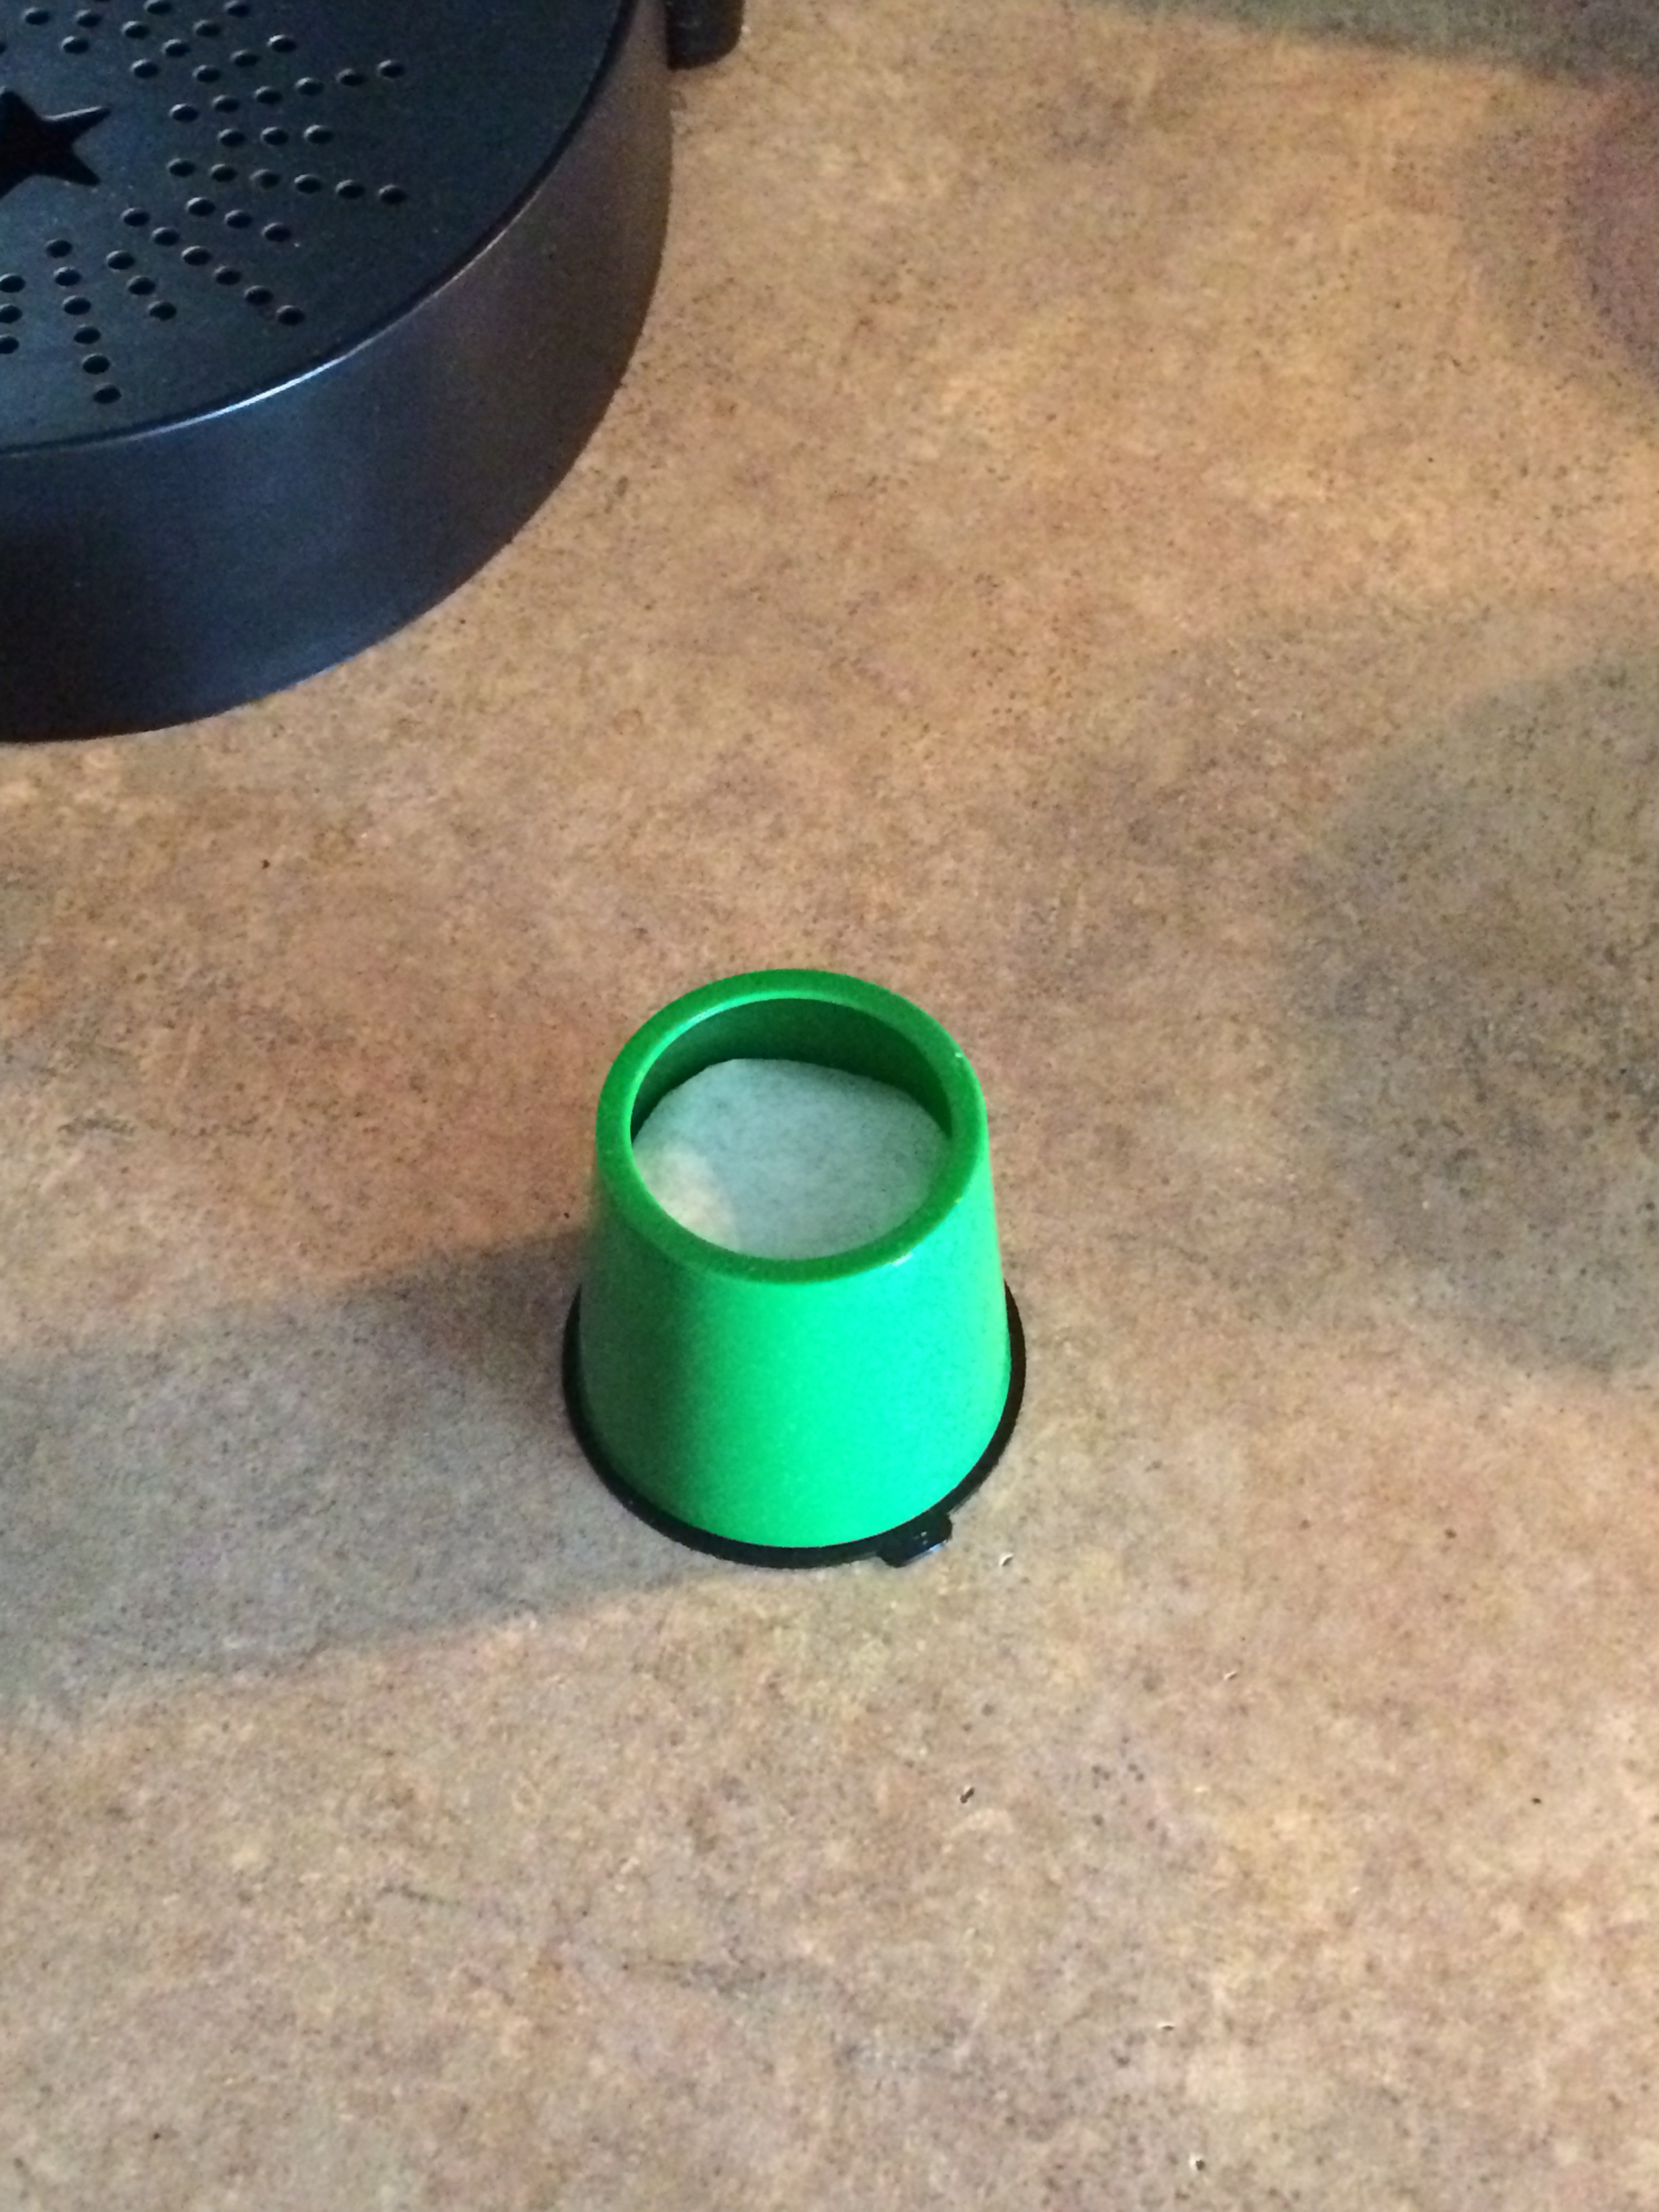
Step 4 – Fill with you favorite coffee.  (I used a normal sized coffee scoop, but I’m sure a tea spoon would work just as well.)

Photo Sep 07, 8 22 16 AM


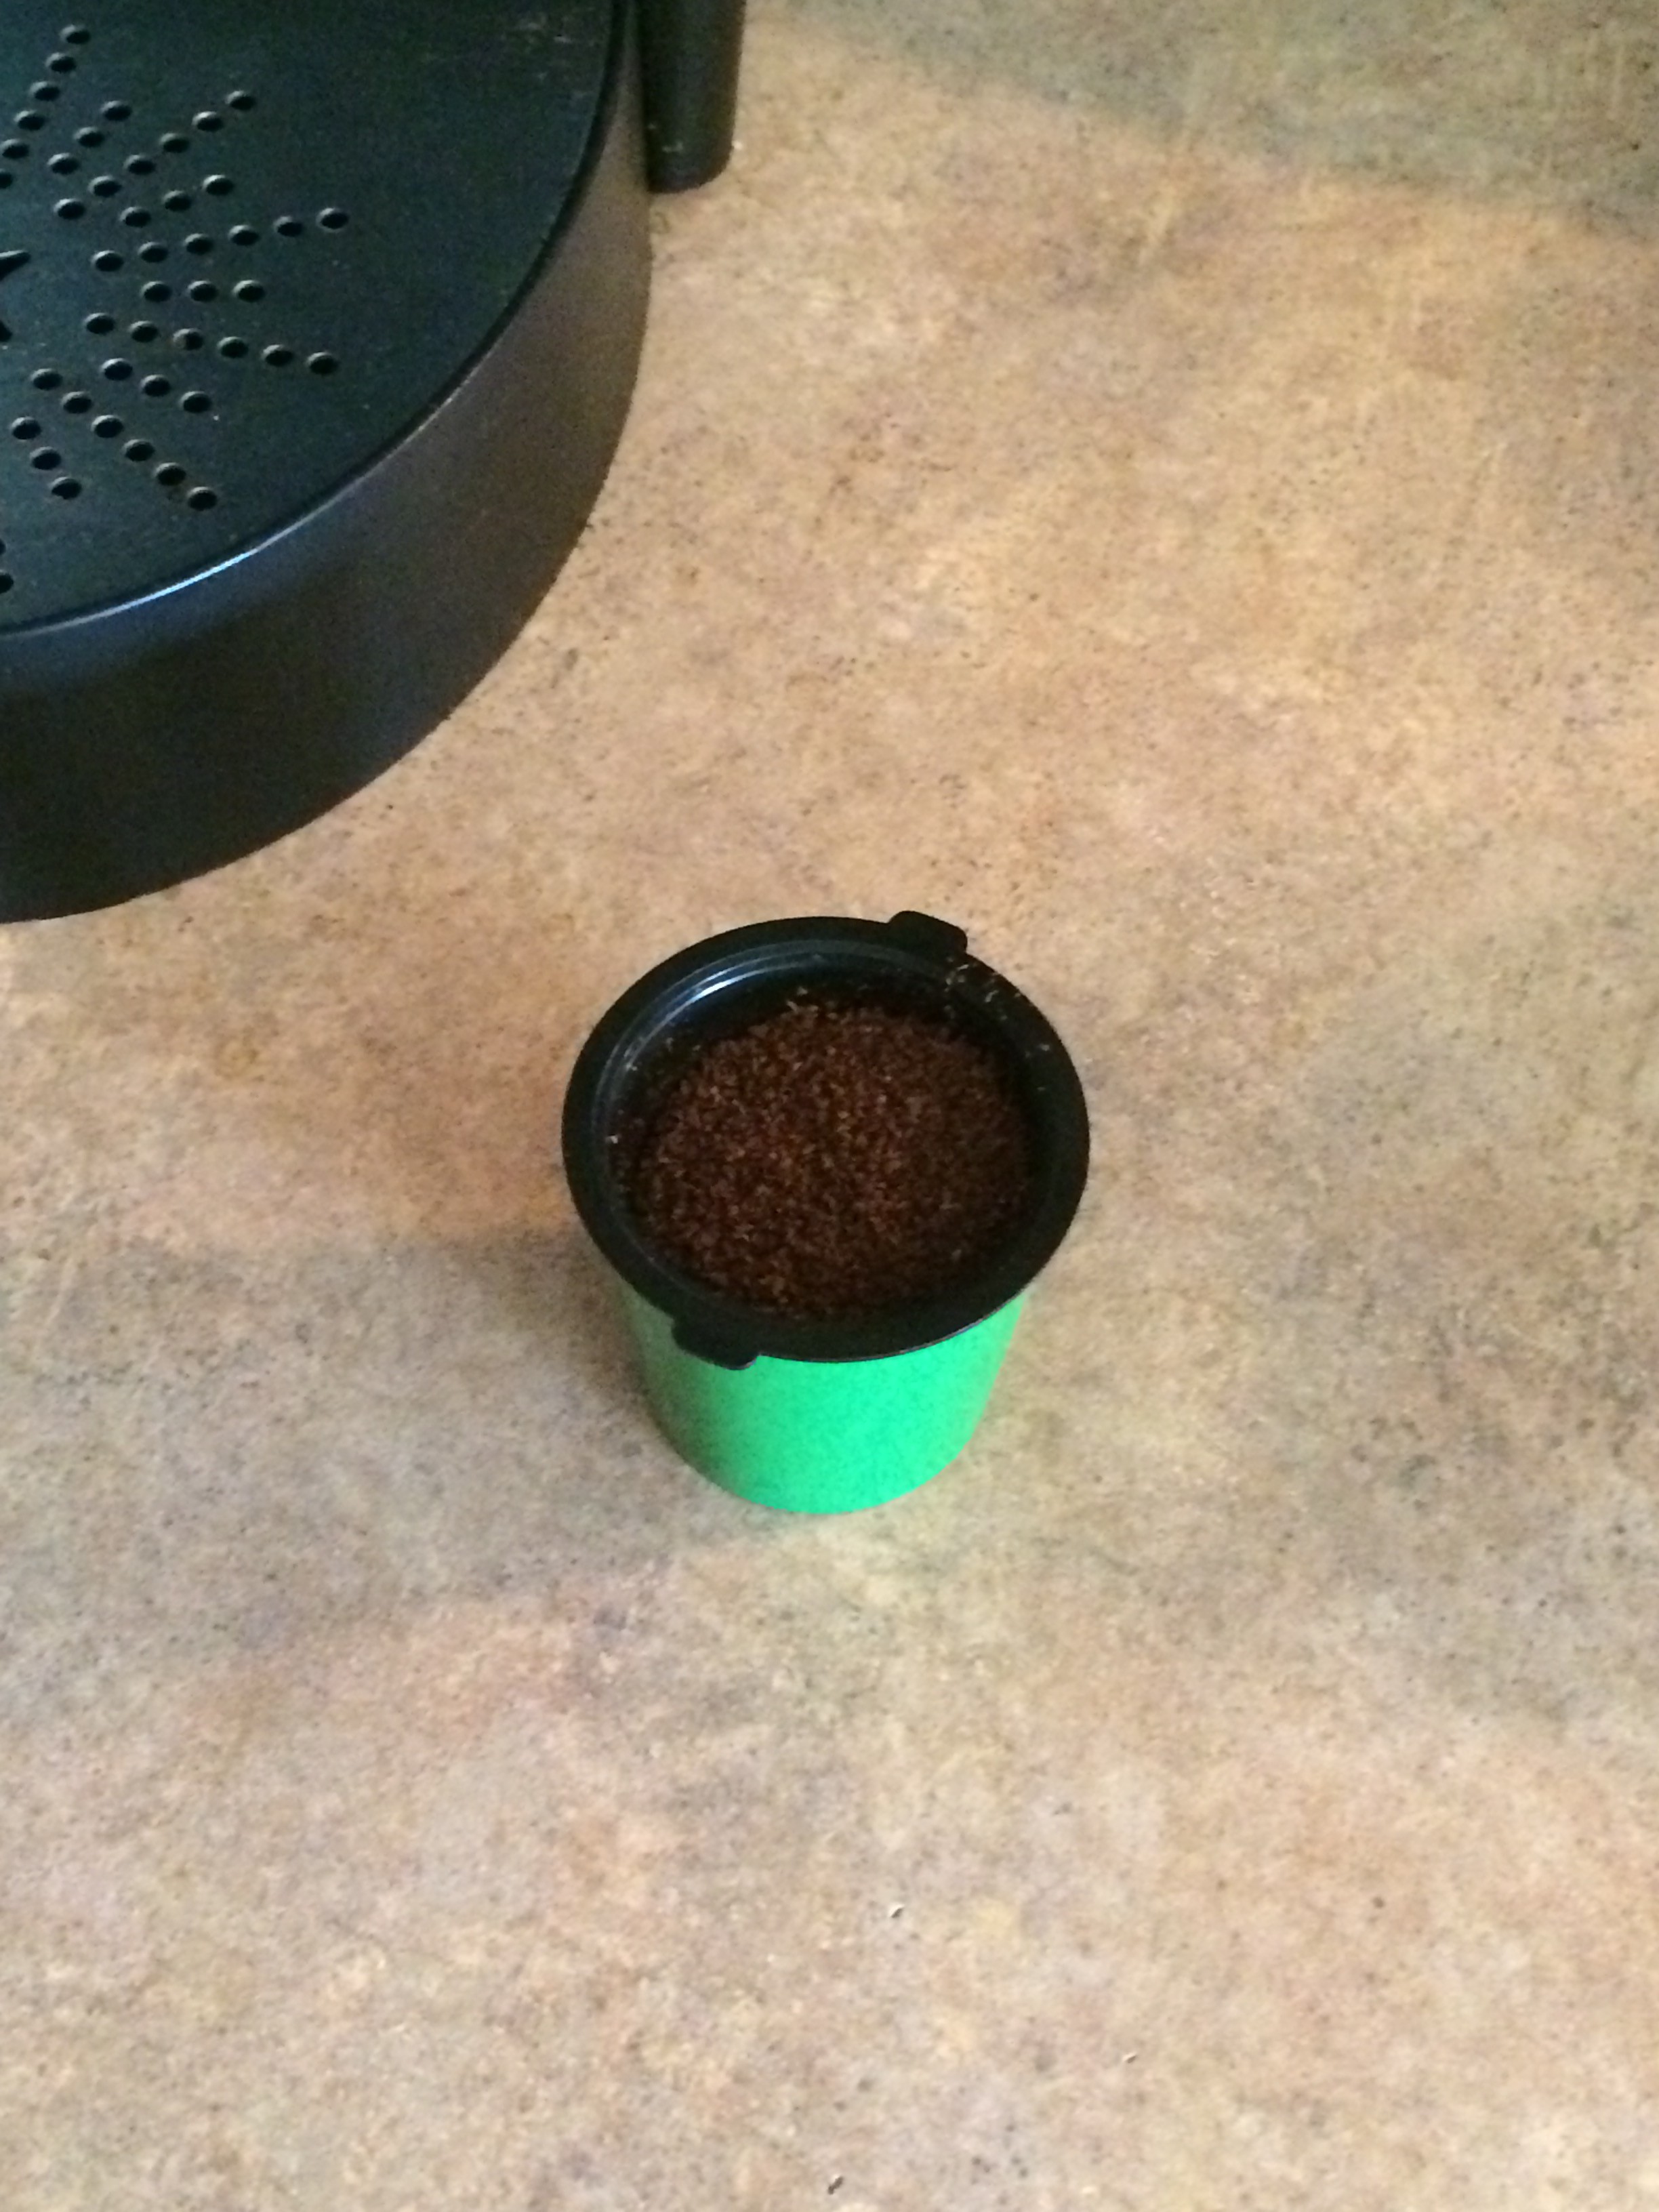
Step 5 – Snap on the lid.

Photo Sep 07, 8 22 34 AMPhoto Sep 07, 8 22 48 AM


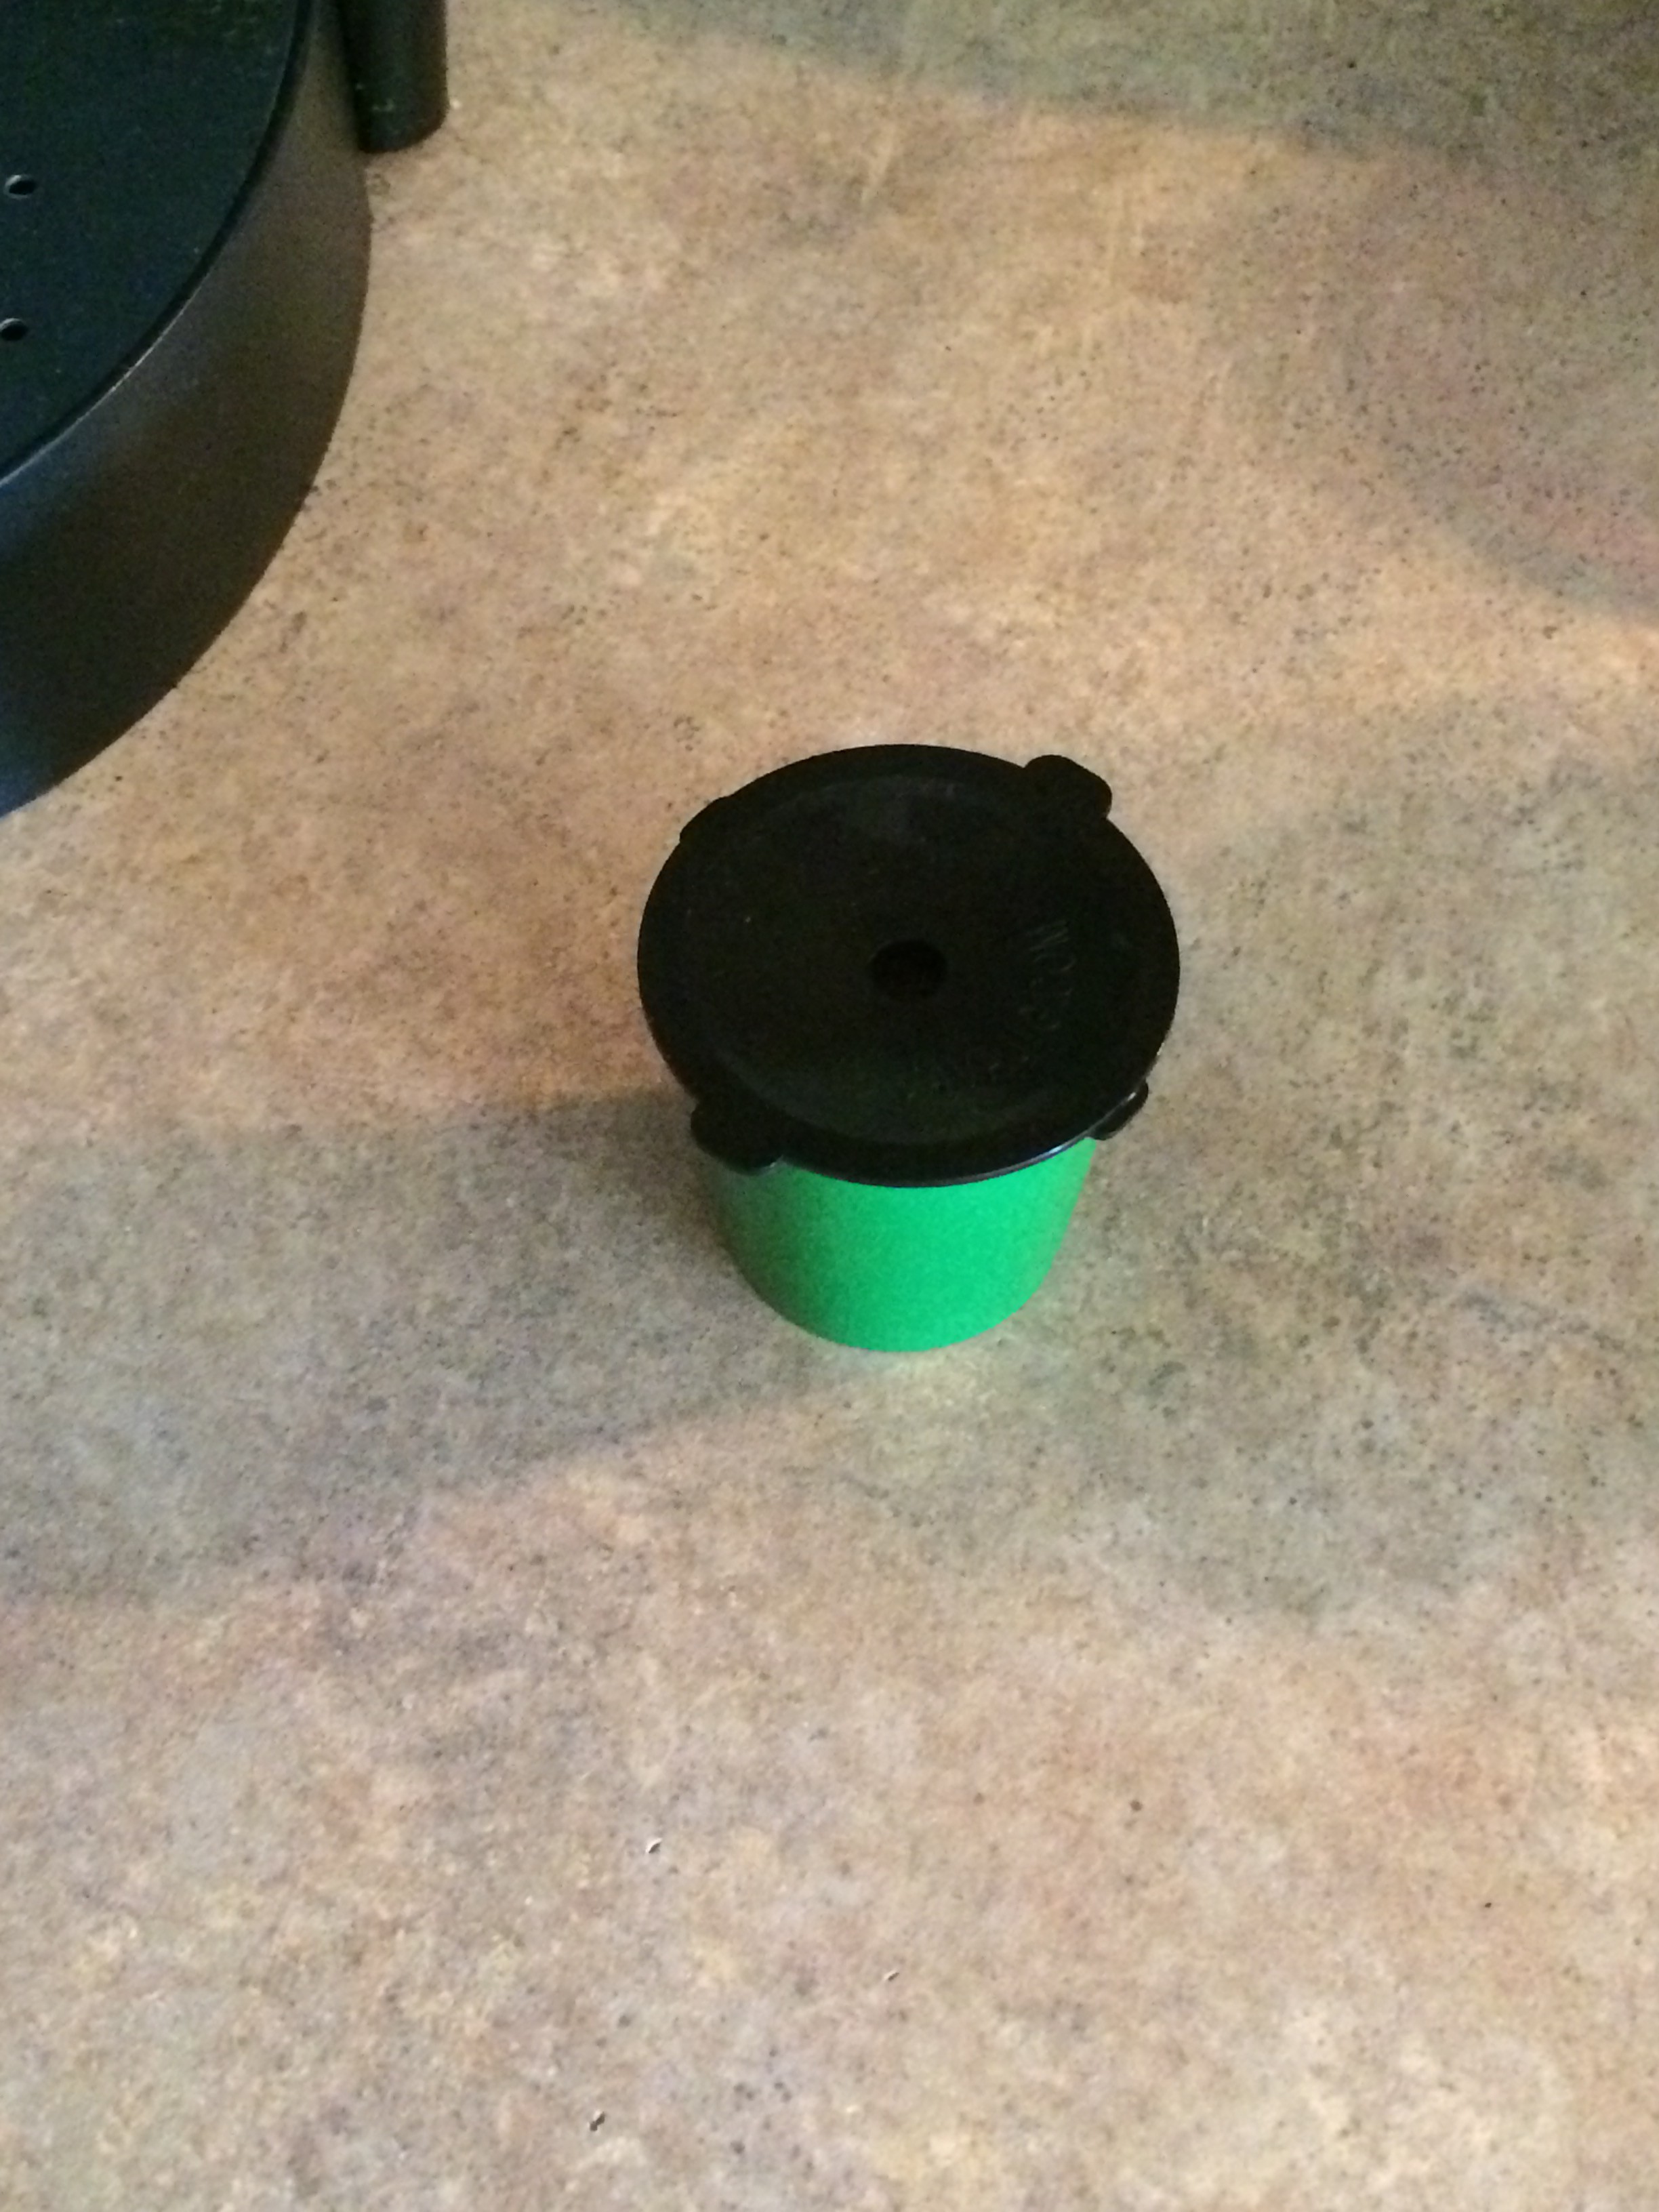
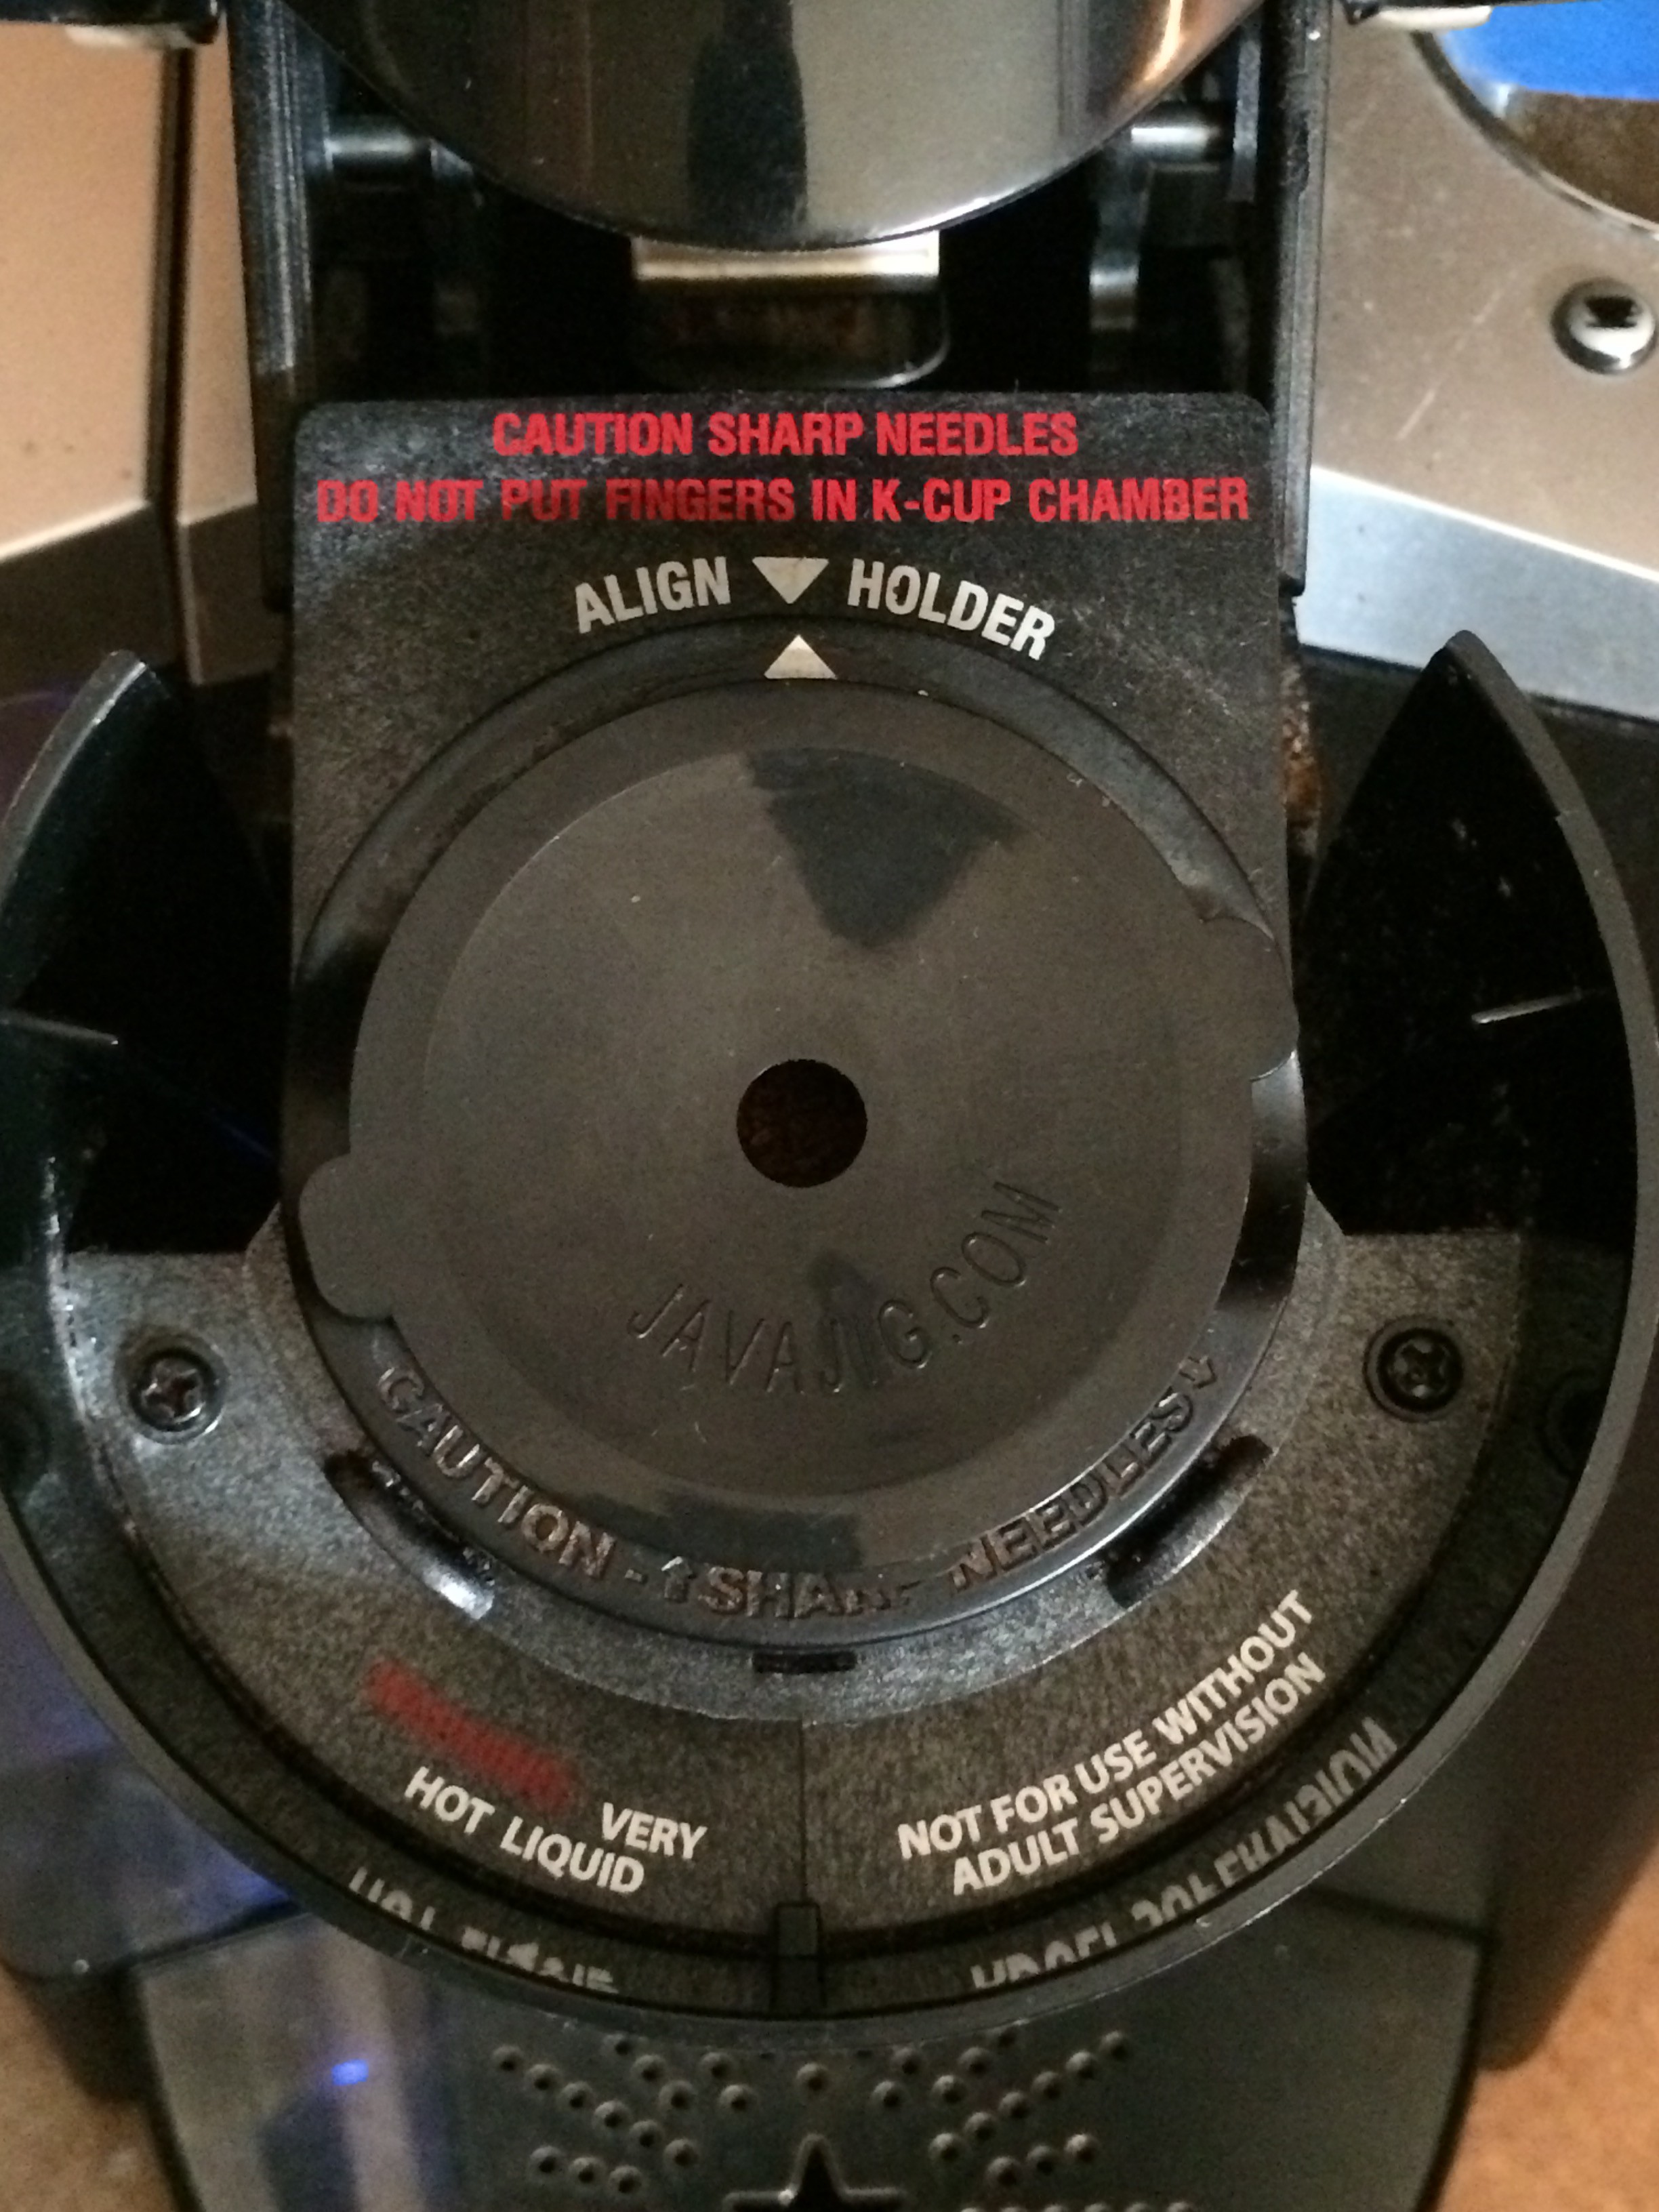
Step 6 – Place the Java Jig into your coffee maker and make a great cup of coffee!!

Photo Sep 07, 8 23 27 AM (1)2015-08-29 06.54.50


I’ve also included a video that shows how to use shows how to use the Java Jig here  –  Java Jig Demo Video

But that’s it!  It is really that simple!  I paid $14.95 for the combo pack, and now I’m looking forward to grinding my own favorite coffee beans and using it in my single serve coffee maker. I no longer have to make a full pot of coffee when I just want a single cup!

So give the Java Jig a try, and let me know how it goes, I would very interested in your comments!

Mahalo,

Island Mike


How To Make Great Coffee – Part 5 – Coffee Grounds

Jamaican Blue Mountain Range Photo By Ericson Smith

Back in August of 1992 when my wife and I were on our honeymoon, one of the stops on our cruise was to the Island of Jamaica.  Before leaving on our trip, and though I had never had never experienced it before, my brother in law suggested that I try Jamaican Blue Mountain Coffee.  He went on about how wonderful it was and he suggested that we get some if we came across it while we on our trip,   Well,  as it turned out, one of the excursions from the ship my new bride and I did was to a Jamaican coffee plantation.   After touring this amazingly beautiful estate for several hours, I bought several bags of certified Blue Mountain Coffee freshly roasted coffee beans.  At this time you could get Blue Mountain Coffee for about $10/lbs. in Jamaica while here in the states, it was north of $50 per pound.  Needless to say, I bought several pounds of the brown gold and brought it home with us from our cruise.

Once back home, I immediately put one of wedding gifts to good use on my new found treasure.  The gift, a Braun Coffee Mill Grinder – one of the ones that has the sharp blade that spins at a crazy fast speed – sounds like it might take off and fly when its running- seemed to work really.  And in fact it did.  And by using it, with my auto drip coffee maker I had at the time, I made some pretty okay coffee.  My bro in law was right, (I can’t believe I just said that :) ). The Jamaican Blue Mountain Coffee was excellent.  Thanks man!!

Okay…..flash forward 22 years….as my appreciation for coffee has grown dramatically, and I can only imagine how that fresh ground Jamaican Blue Mountain Coffee would have been if I would have had the proper equipment to make an outstanding cup of the stuff….oh well, can’t cry over the past. Have to press on and learn from the experiences of the past….always improving and getting better!!

Espresso Lifecycle

“Espresso Lifecycle” Photo By Thomas

So with that in mind, let’s spend some time talking about coffee grounds.

How your coffee is ground is very important.  Remember in part 1 when we briefly talked about coffee extraction.  Well, how your coffee is ground is an important part of how much extraction of the flavor of the coffee actually takes place.  Honestly, it’s pretty logical as you’ll see.

The reason, (duh!) that we grind coffee beans is to get the amazing flavor of the coffee bean into a great cup of coffee.  But there are a couple of ways to do this and one of those ways is better than the other.   The two grinding methods/tools are burr grinders and blade grinders.  We’re not going to discuss these types of grinders today accept to say that burr grinding is better than blade grinders, and of the types of burr grinders, the conical burr grinder is the best.  We’ll probably cover the types of grinders in a later post.

So when thinking about coffee grounds were talking about the size of the ground particles that come from the coffee beans.  One of the best examples/demonstrations/blog post written about the coffee grounds is from the blog “I Need Coffee”. Another great source is the blog “Coffee Specialty Advisor

Depending upon how its categorized , there are generally five different grind levels for specific types of coffee.    The five types are:

1) Extra/Course Grind – This is used for French Press coffee, cold brew coffee, & vacuum coffee makers.

2) Medium Grind – Used for auto drip coffee makers – the kind with the flat bottom.

3) Medium Fine Grind – This is good for drip coffee makers with a cone filter and for pour over coffee.

4) Fine Grind – Grind your coffee this way if you are making expresso.

5) Turkish Grind – This is a very fine grind and is used for Turkish Coffee.

So really, that about it for the coffee grinds – I hope you found that helpful.  In addition the great resources above, you can find out more about coffee grounds at the blogs and websites below.

God Bless,

Island Mike

Additional Resources:

The Examiner – Different types of Coffee Bean Grinds

Kona Coffee Buzz – Guide to Grinding Coffee

Essential Wonders Coffee Company

Making Good Coffee.com